Color Changing Pleats
by ttseng
The capacity for fabric to change color is an exciting opportunity to articulate select surfaces of a constructed piece of material. What has already been materially manipulated via sewing techniques can be further enhanced by the “magic effect” of thermochromic ink and heated thread.
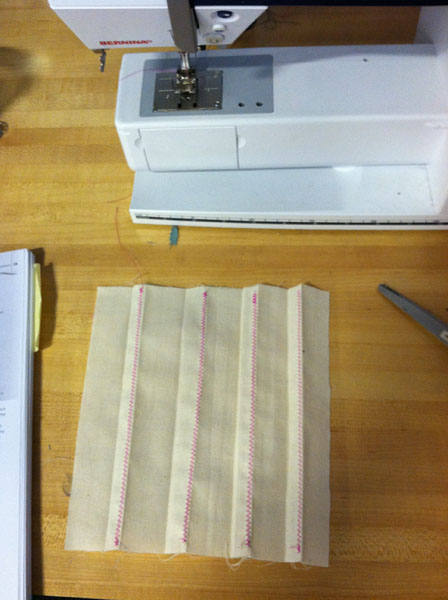
For this assignment, I wanted to accentuate the underside of a series of pleats. I began by stitching a zig-zag along the length of each pleat using stainless steel thread for the bobbin. I then secured the pleats with a straight stitch (using non-conductive thread) on either end. In order to bridge between the pleats such that a continuous electrical current can flow from one conductive stitched line to the next, I hand-stitched from the switch to the first pleat, then again from the end of one pleat perpendicularly across to its neighbor and so forth. The resulting circuit zig-zags from one pleat to the next, arriving at the circuit board and then traveling back to the switch via long hand-stitches.
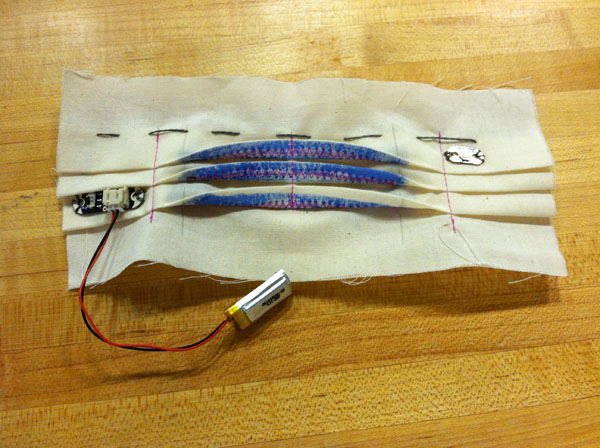
Final piece (this is a second version) with the switch and circuit board stitched in using stainless steel yarn.
The stainless steel conductive thread (used as the bobbin) is stitched in lines along the fold of the pleat.
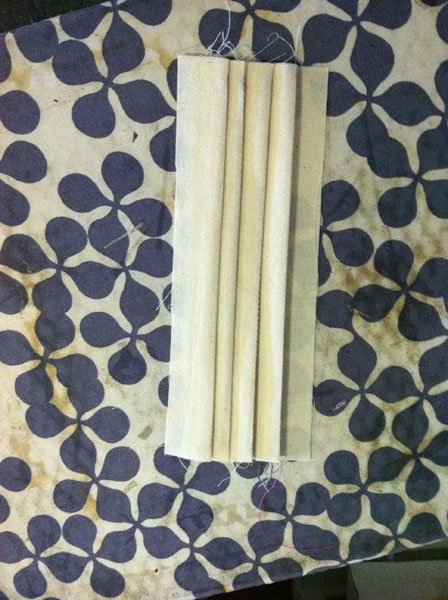
The conductive thread is hidden within the pleated folds.
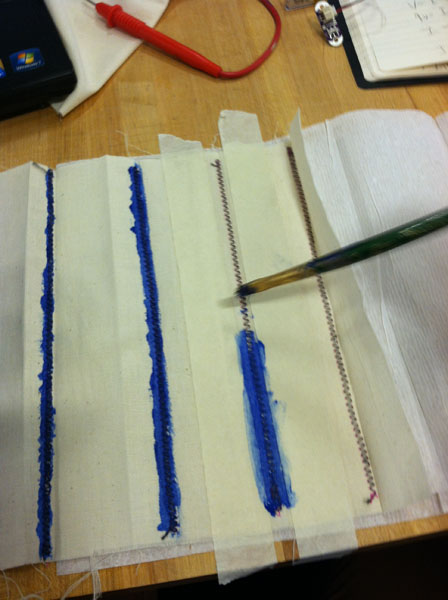
The thermochromic ink is applied to the bobbin side of the stitch, the side with the conductive thread.
Sadly, the color changing did not occur has I had an insufficient amount of current running through the piece. Both my calculations as well as the multimeter readings proved that of the 100 mA required to heat the thread to a warm enough degree, I was only able to muster a weak 67 mA. The multimeter measured an even lower 41.7 mA. It’s likely that I used too much conductive thread (my total resistance = 56.7 ohms) with too little voltage. The voltage required to overcome 56.7 ohms of resistance (with 100 mA of current) is 5.67 volts. It’s also highly likely that my circuit may have been shorting due to either messy connections across the threads or too weak a connection.
Calculations:
The resistance I should not exceed (but did!):
V = I * R
3.7 v = 100 mA * R
37 ohms = R
Resistance per trace: (measured using multimeter)
1. 50.2 ohms
2. 6.5 ohms
Total: 56.7 ohms
Current in piece:
V = I * R
3.8 v = I * 56.7 ohms
67 mA = I …. That’s too low! Needs to be at least 100 mA! 🙁