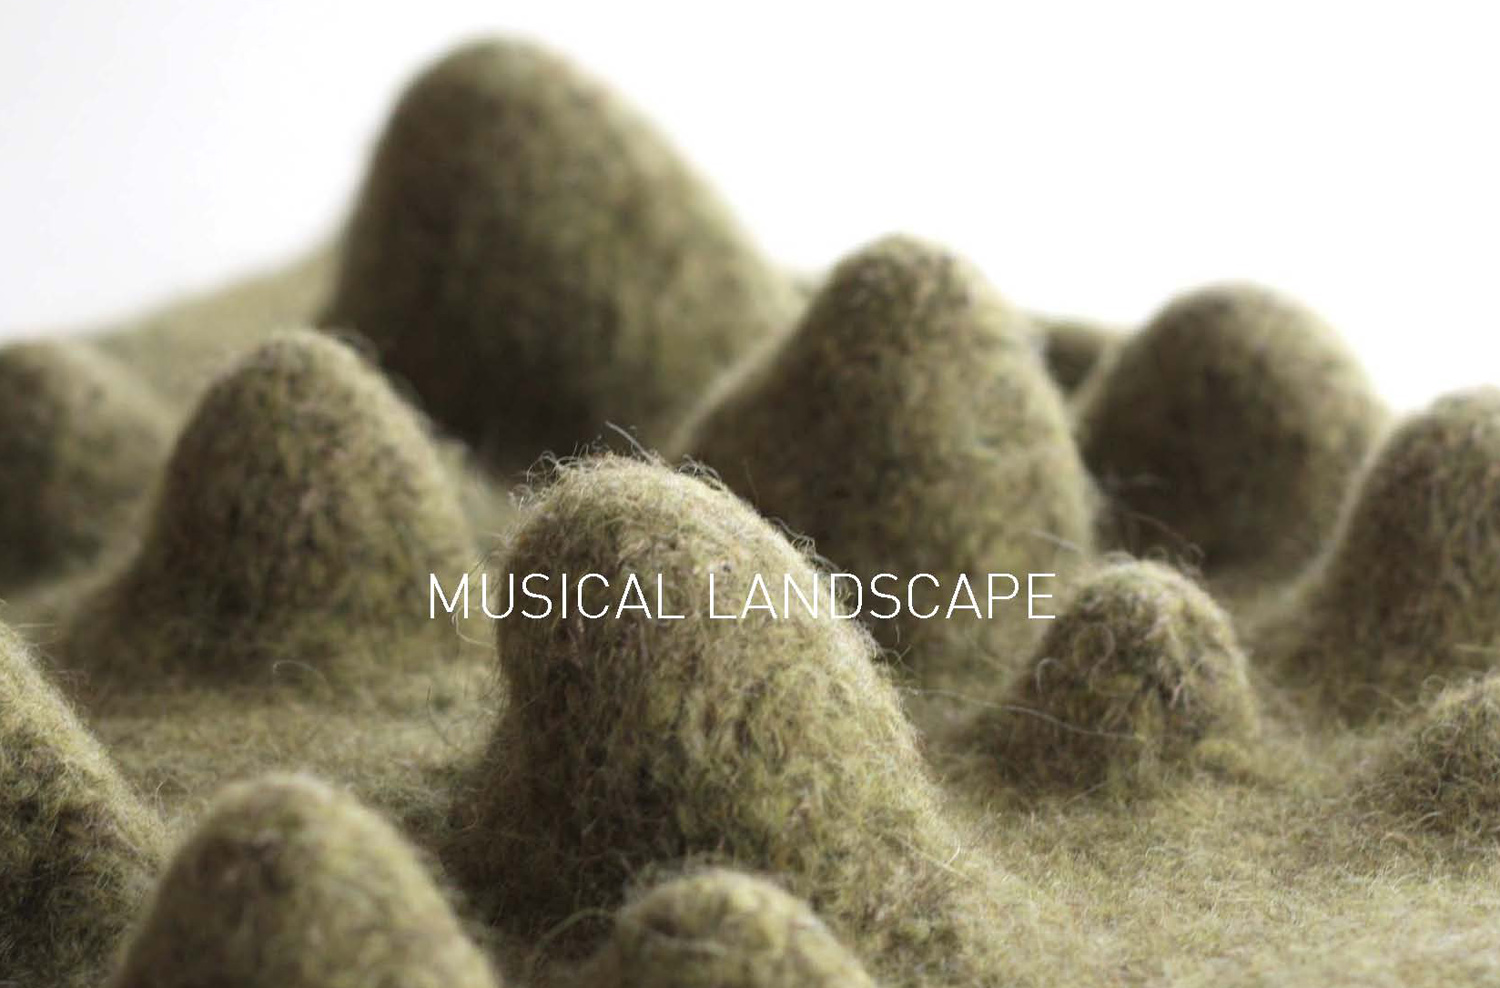
Felted Musical Landscape
by andreamiller
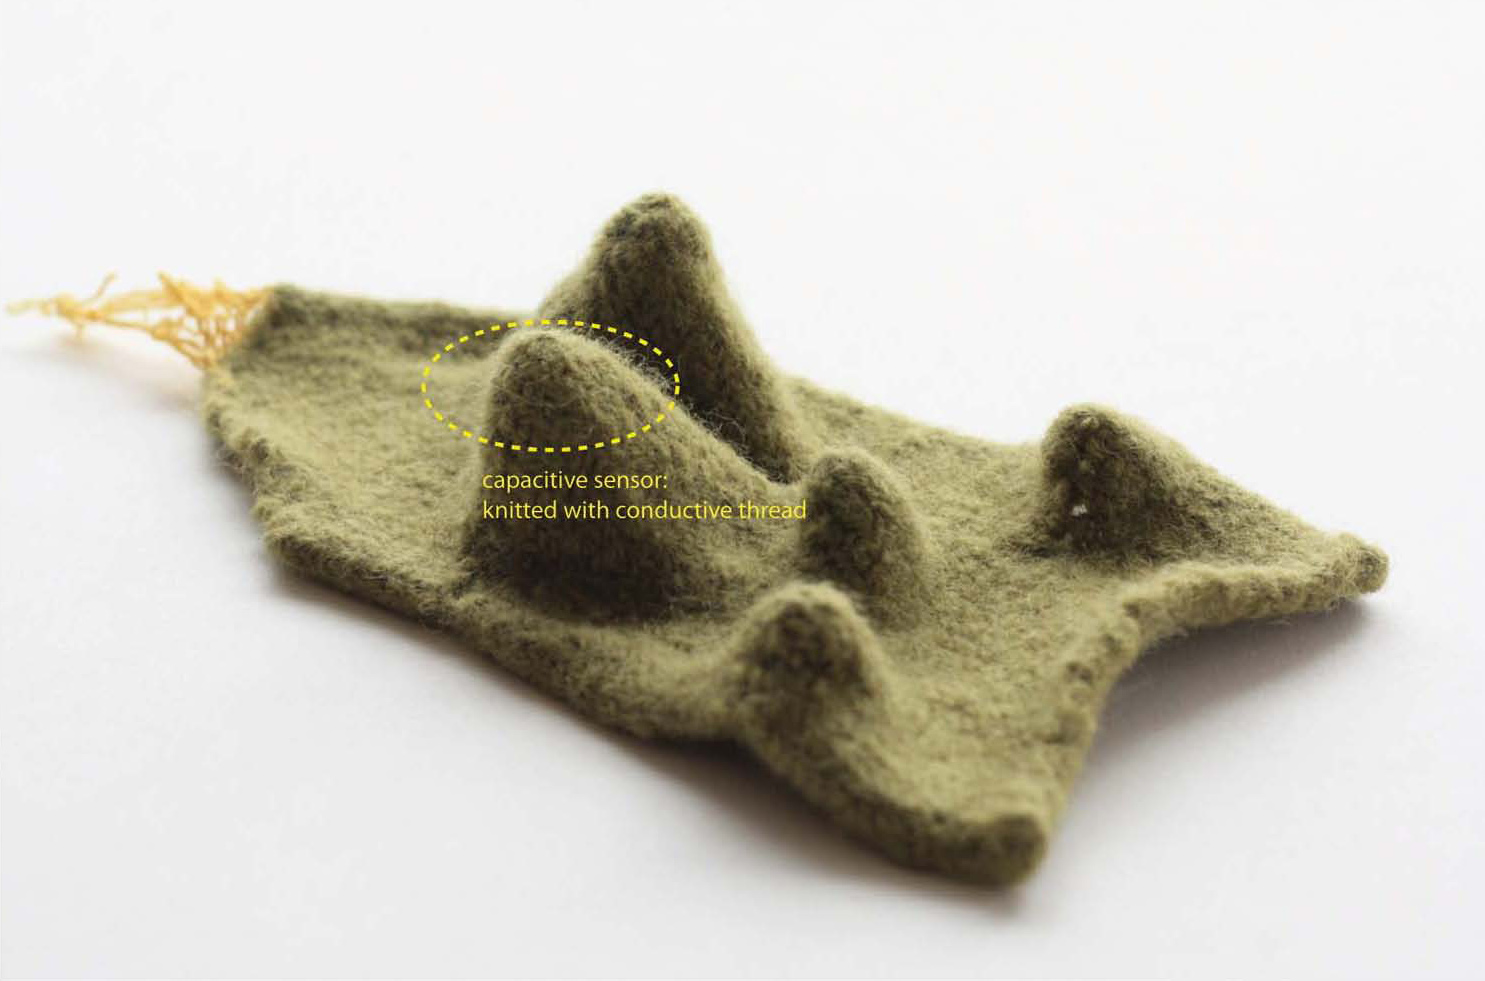
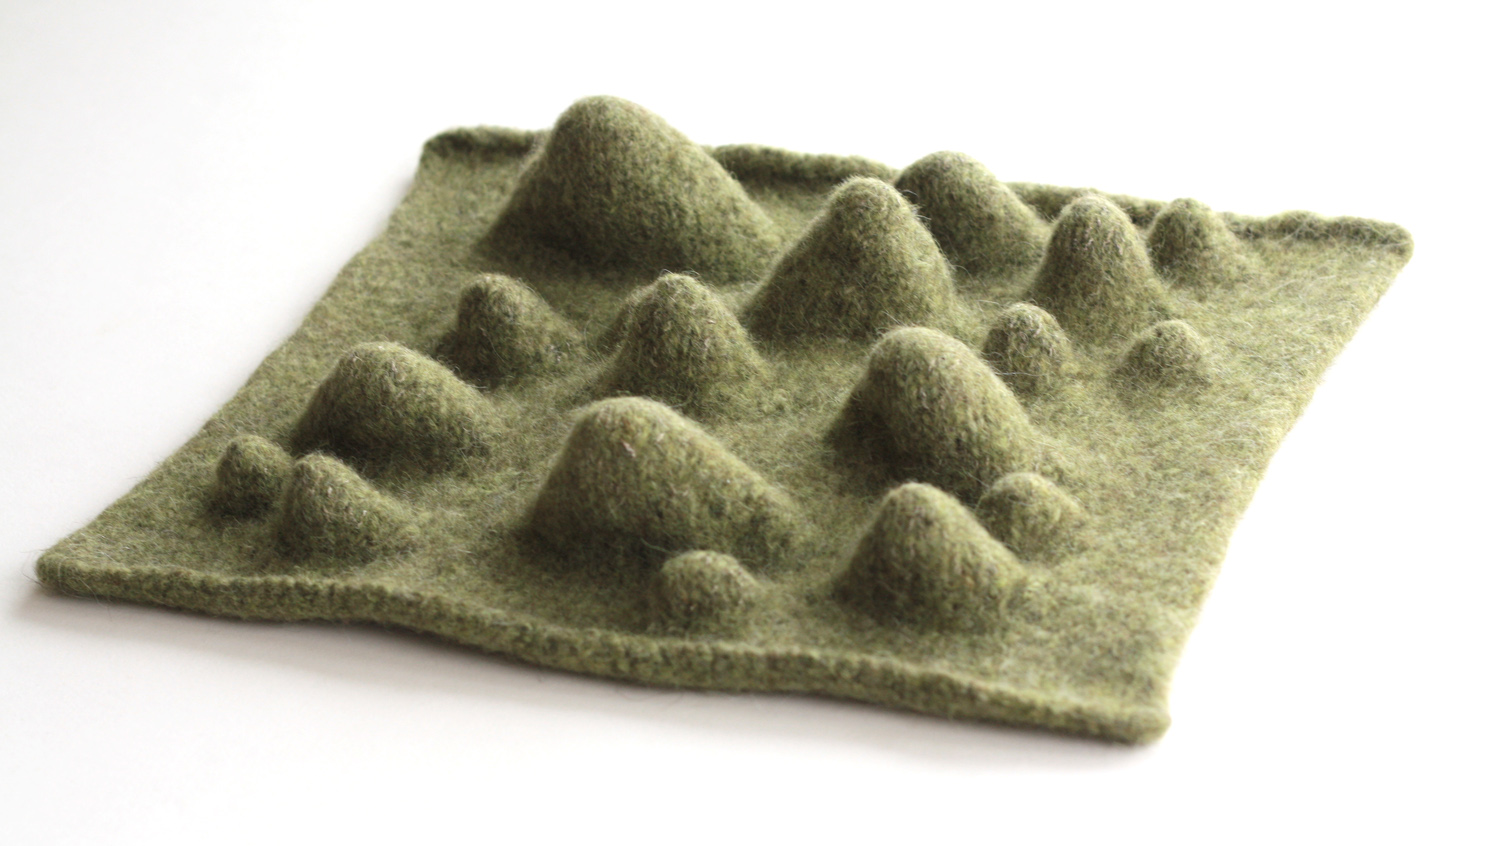
Felted Musical Landscape is a textural interactive felted 3D textile project. The tips of individual bumps are capacitive touch sensors that responds to touch and plays piano notes via Processing. This interactive piece is soft to touch and fun to interact with, as one wouldn’t expect these bumps to make sounds when squeezed or touched!
Inspiration
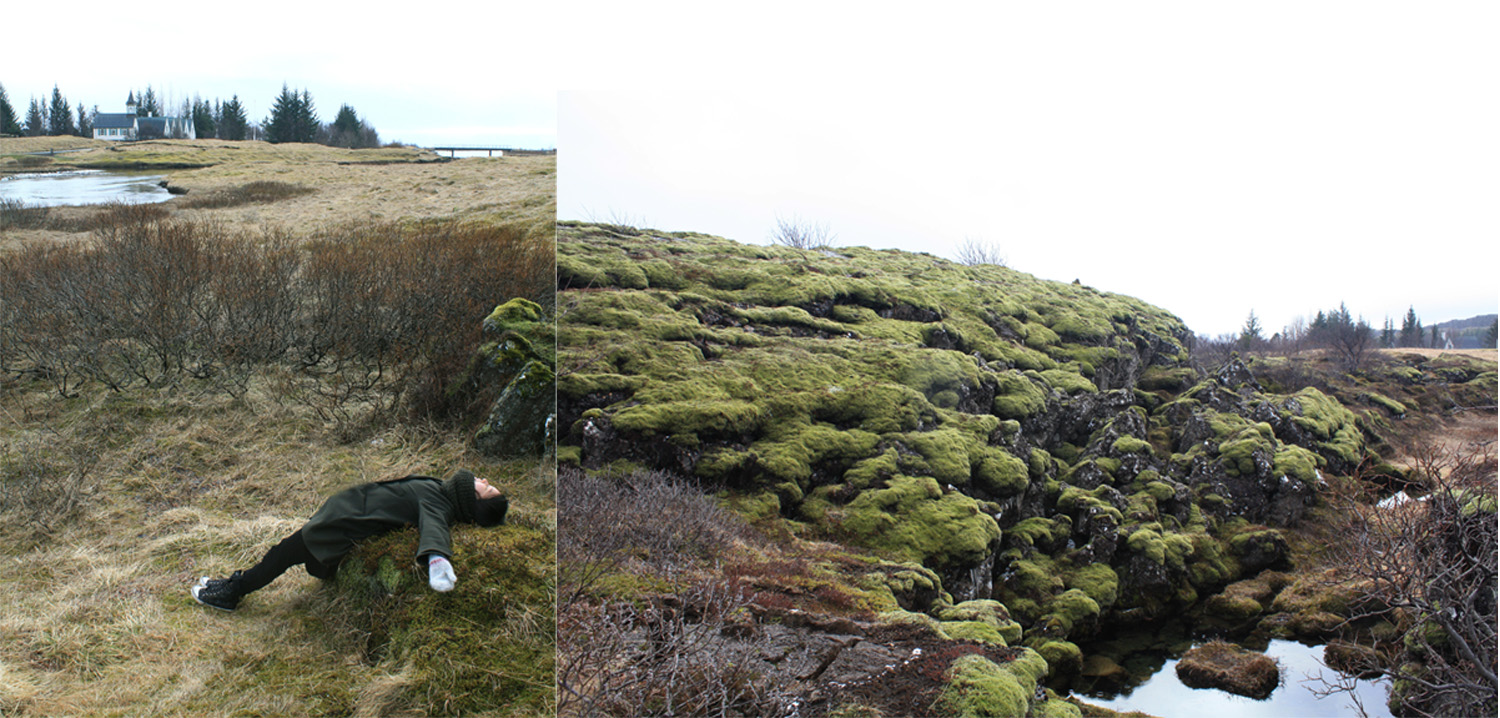
During spring break I traveled to Reykjavik, Iceland and was inspired by the low planes of bumpy moss landscape. Right when I came back from Iceland we worked on using the knitting machine at the lab, and I was excited about knitting 3D bumpy structures. I also had some Icelandic Lopi Wool that I brought back from Iceland. Perfect. This is the project I’m going to work on. Large size installation scale (initially planning on making a 30″ x 36″ large wall textile), interactive, fun!

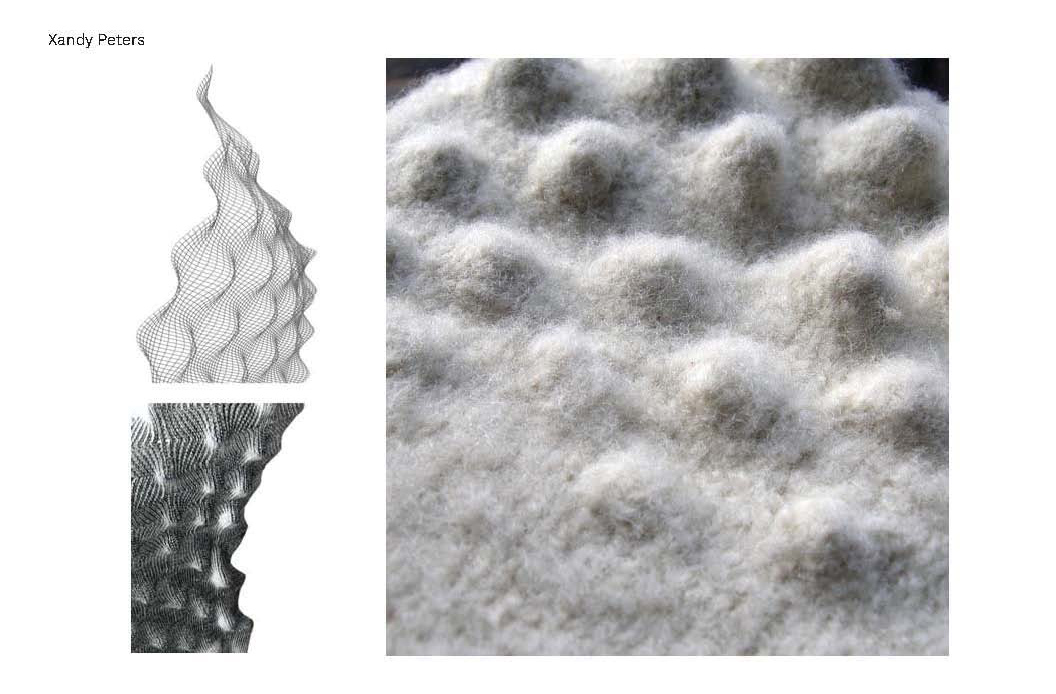
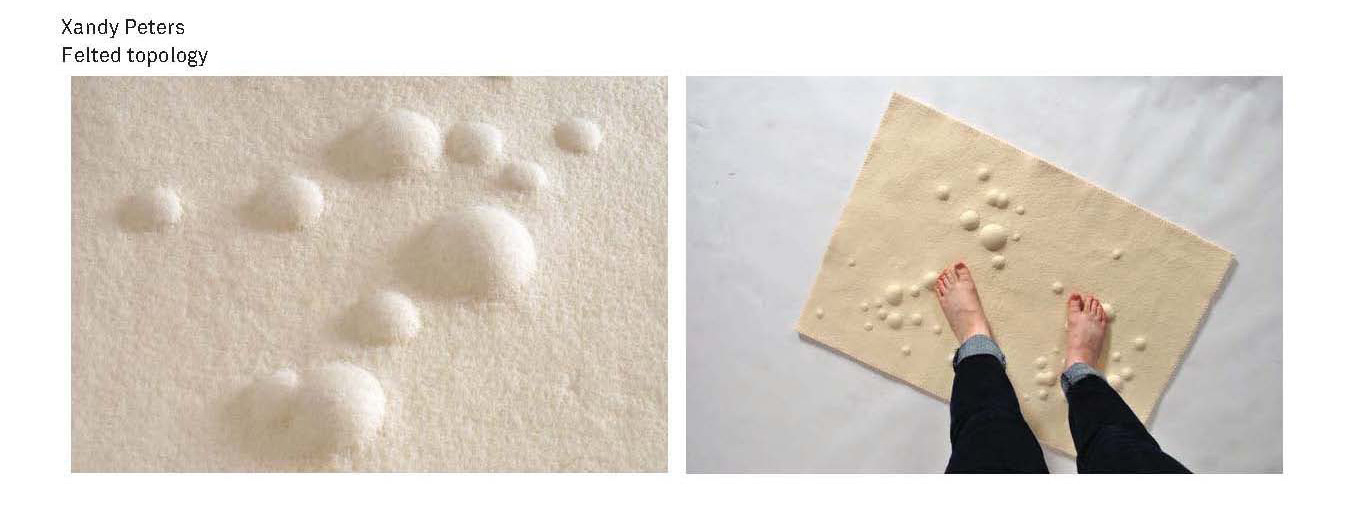
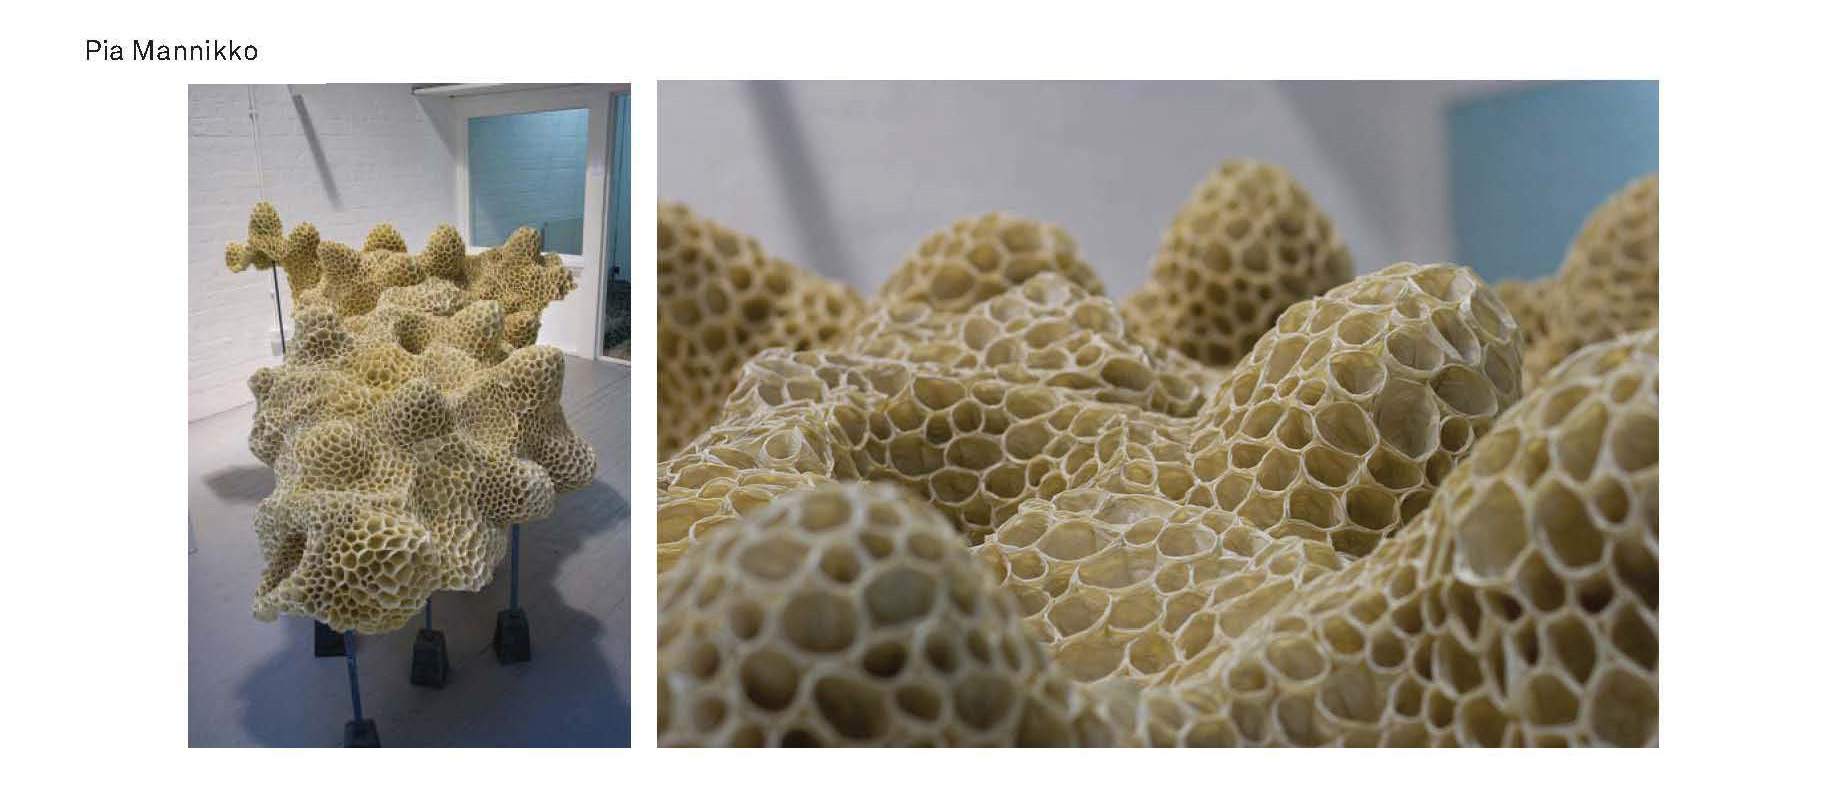
Below are examples of felted topology projects done by Xandy Peters. I was also inspired by the large scale installation by Pia Mannikko.
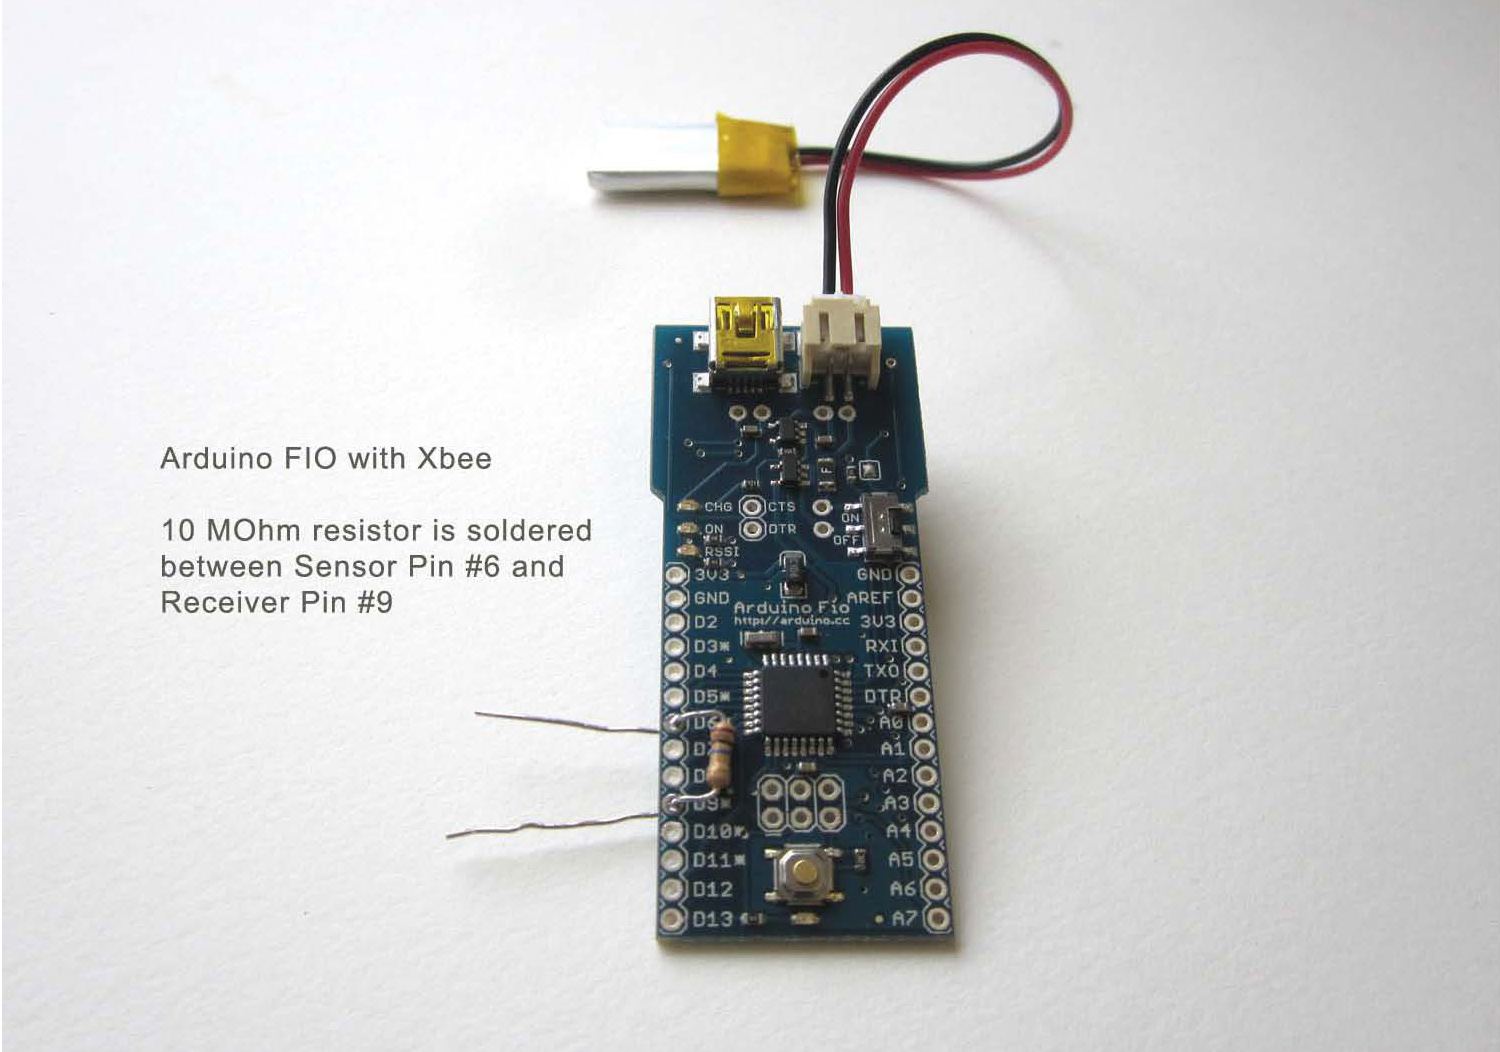
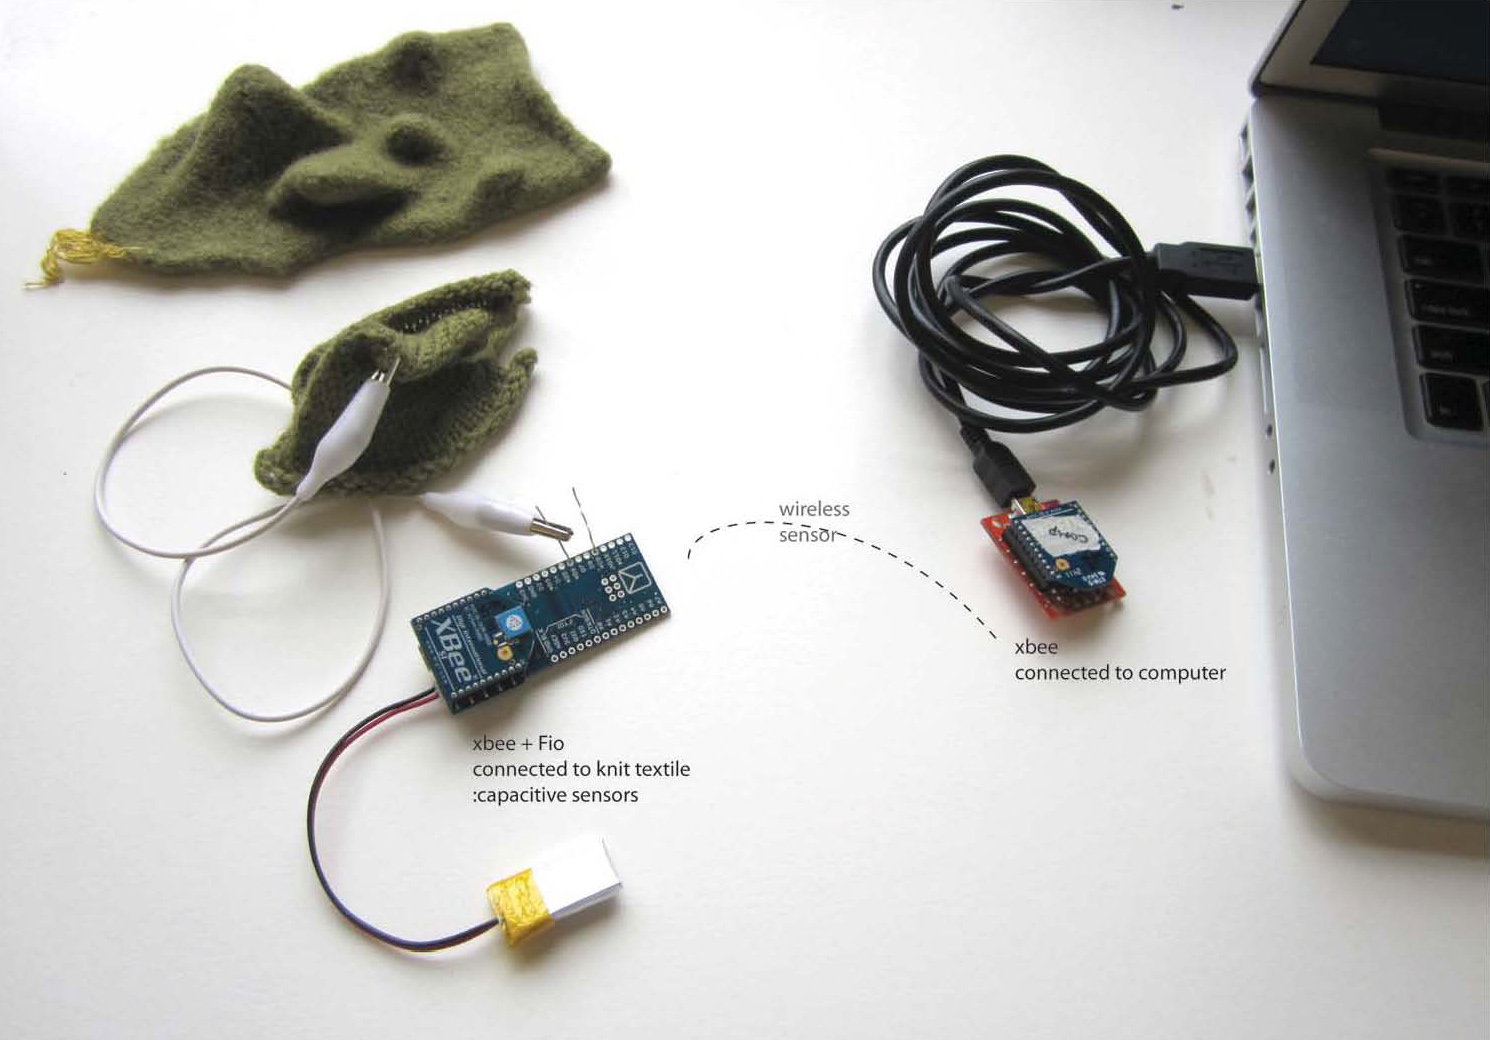
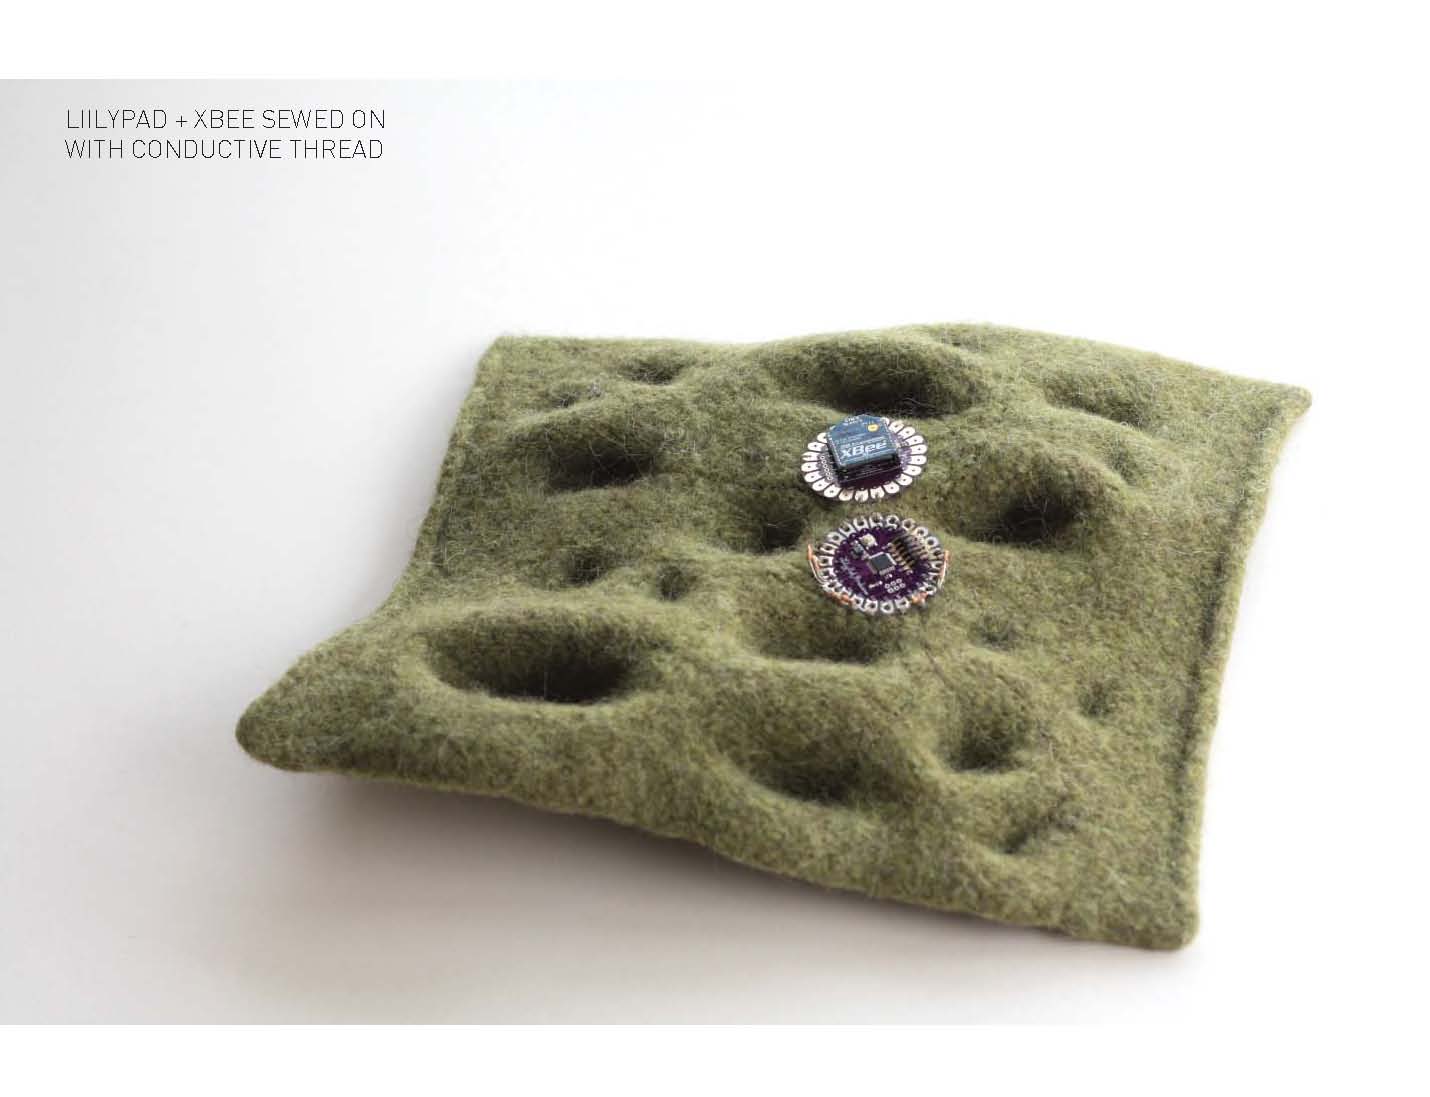
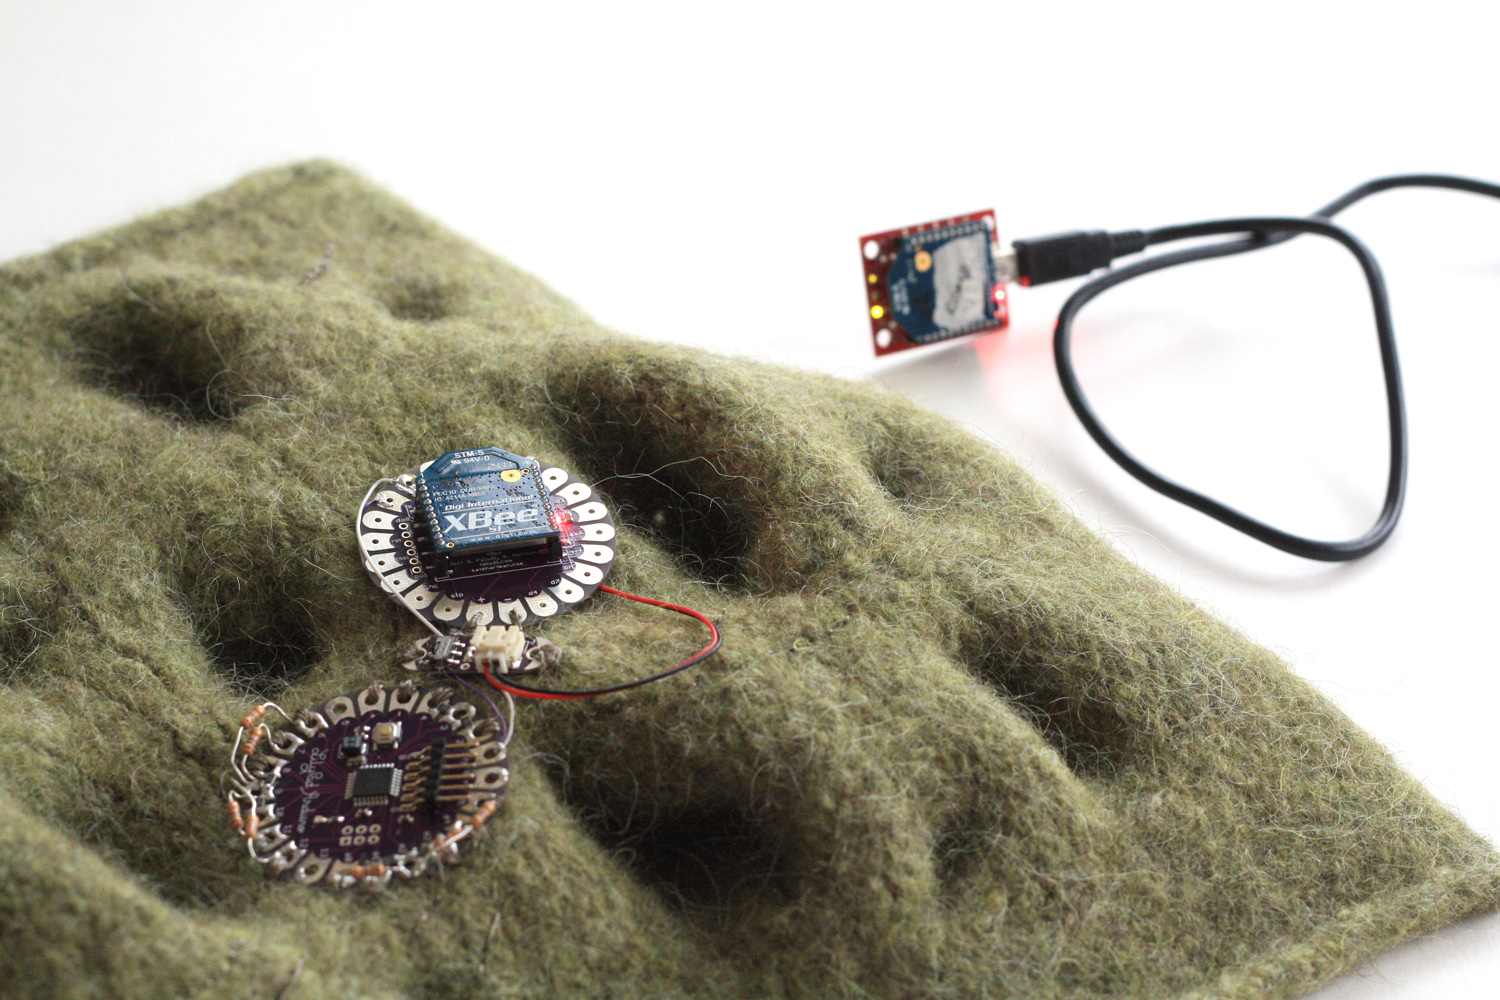
I wanted to make the textile piece devoid of any wires to the computer, so I tested using the Arduino Fio with Xbee. Fio is much easier to work with if you’re doing a point to point simple sensor network. There is a easy configuration tool, and the Fio board has the Xbee shield and power integrated with the board. However I managed to break the board when I was soldering multiple resistors (without headers…), so I decided to work with Lilypad Arduino and Lilypad Xbee since it’ll be easier to sew on to the textile later on.
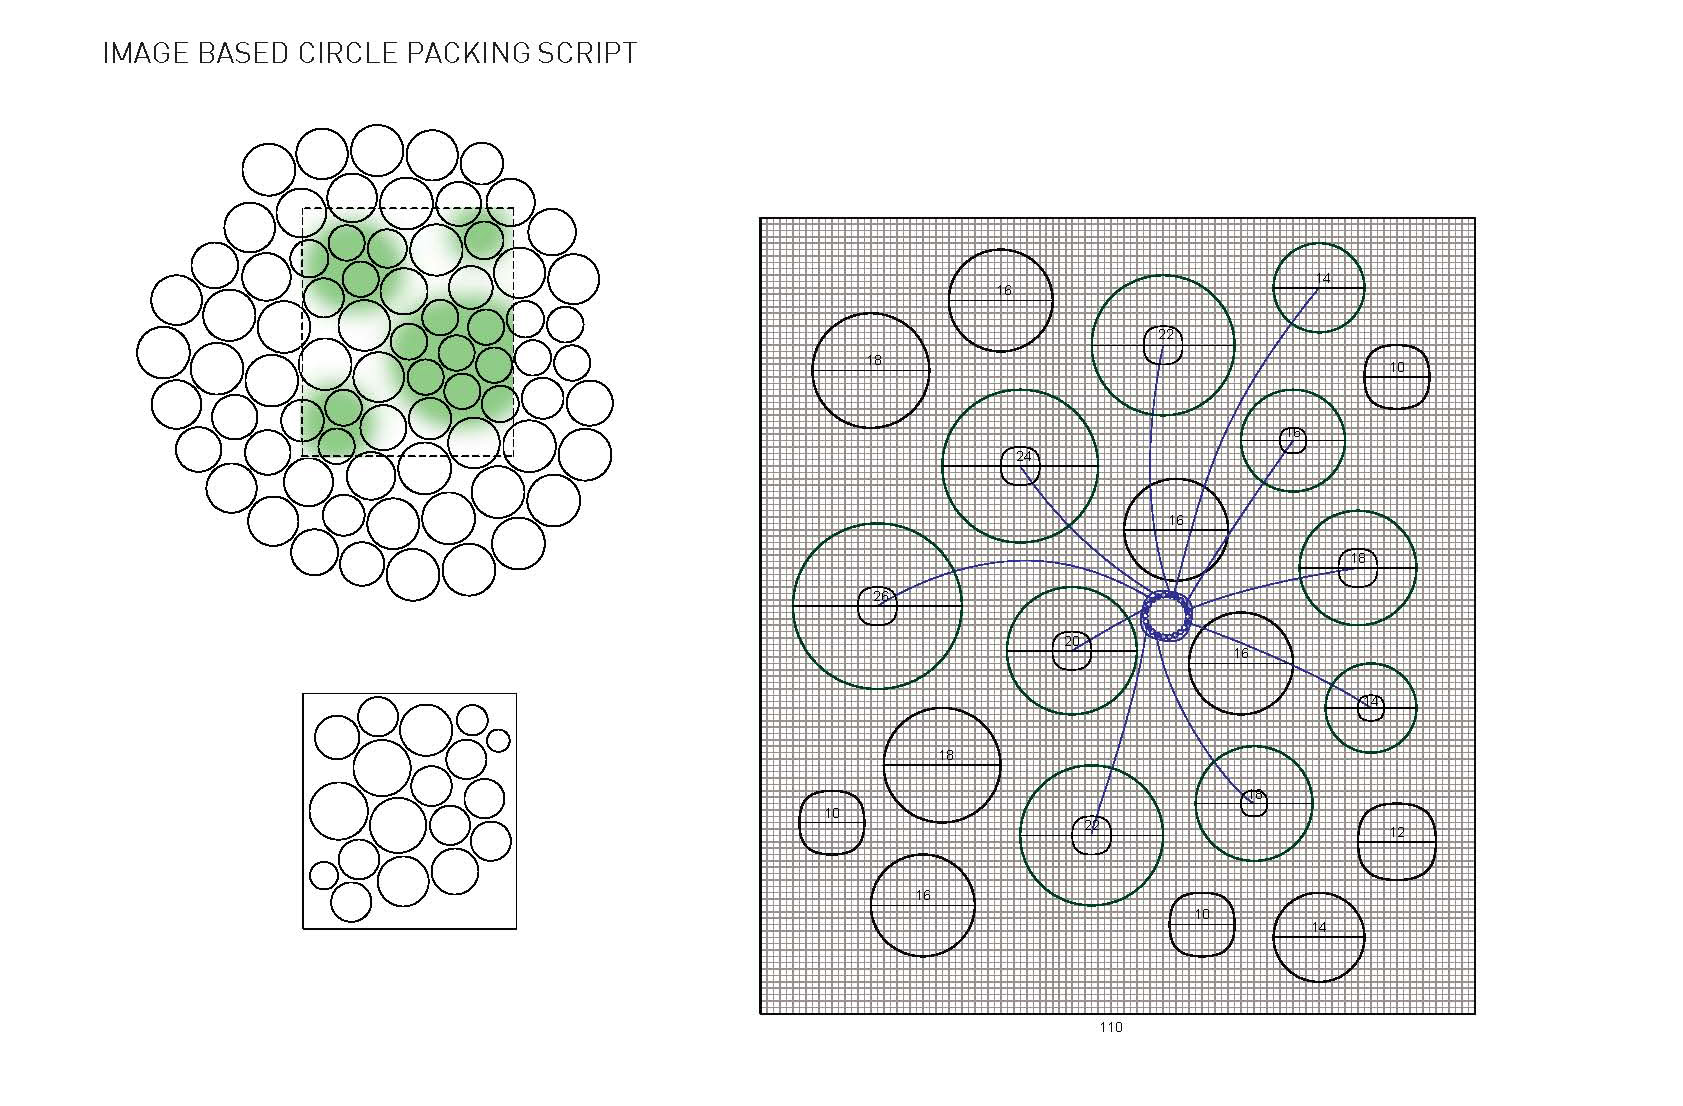
I used Image Based Circle Packing Script in Rhino to generate a packing pattern that I’d use as a base for the bump knit pattern. I layered a grid on top of the packing pattern and mapped out a preliminary circuit path from the Lilypad Arduino.
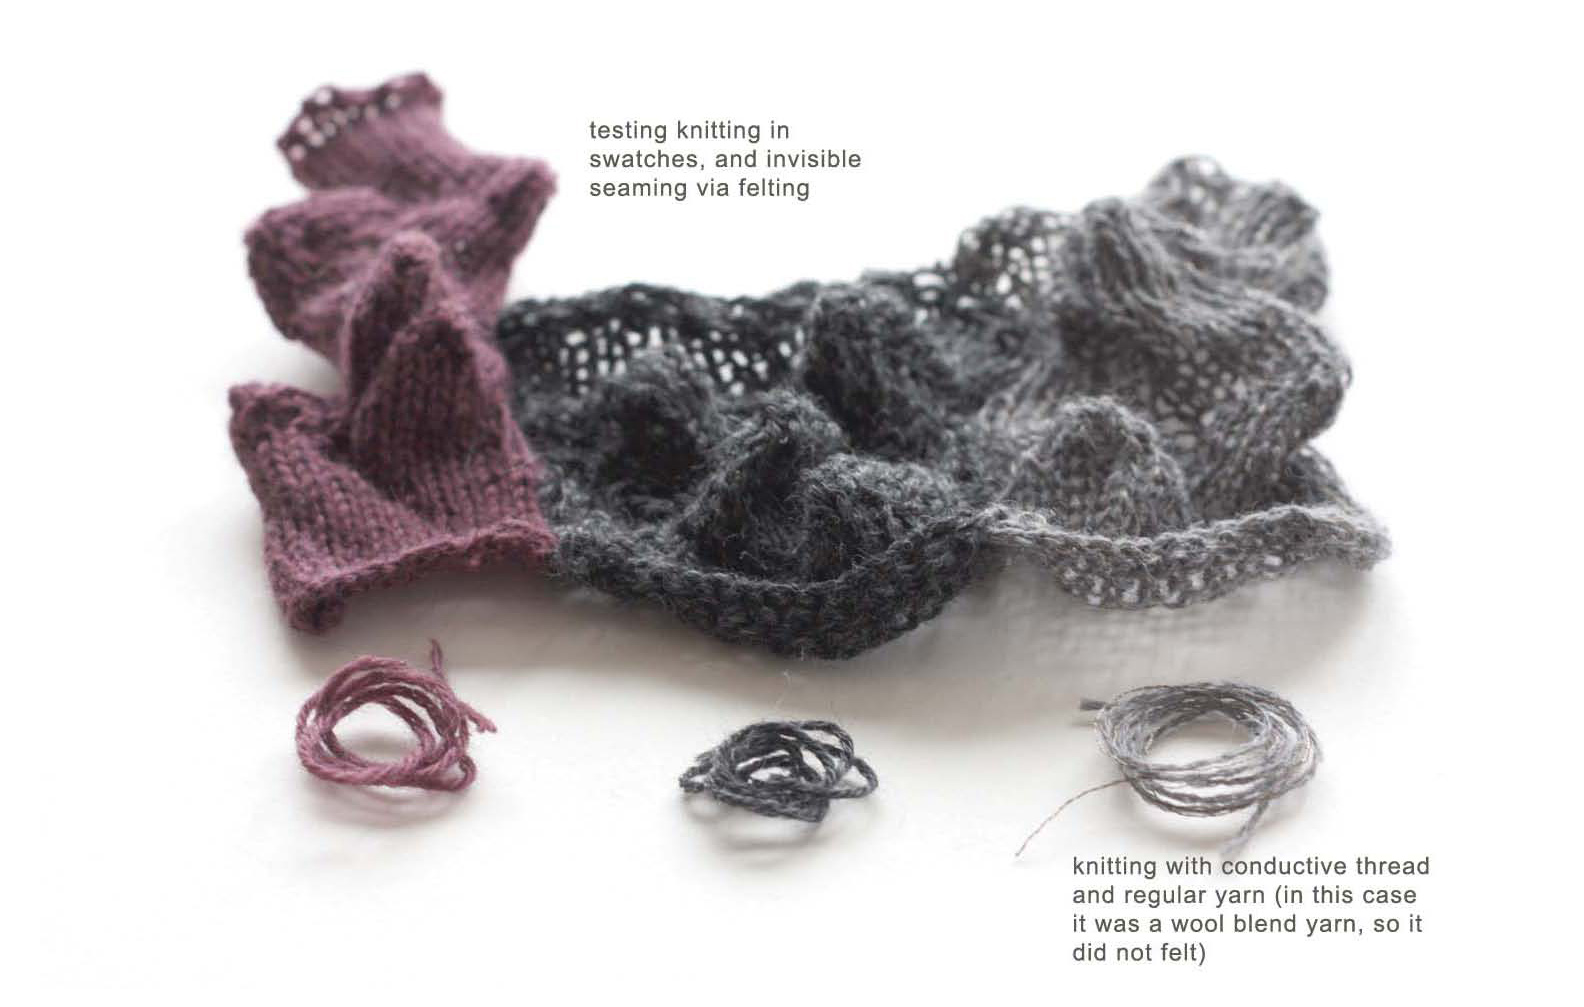
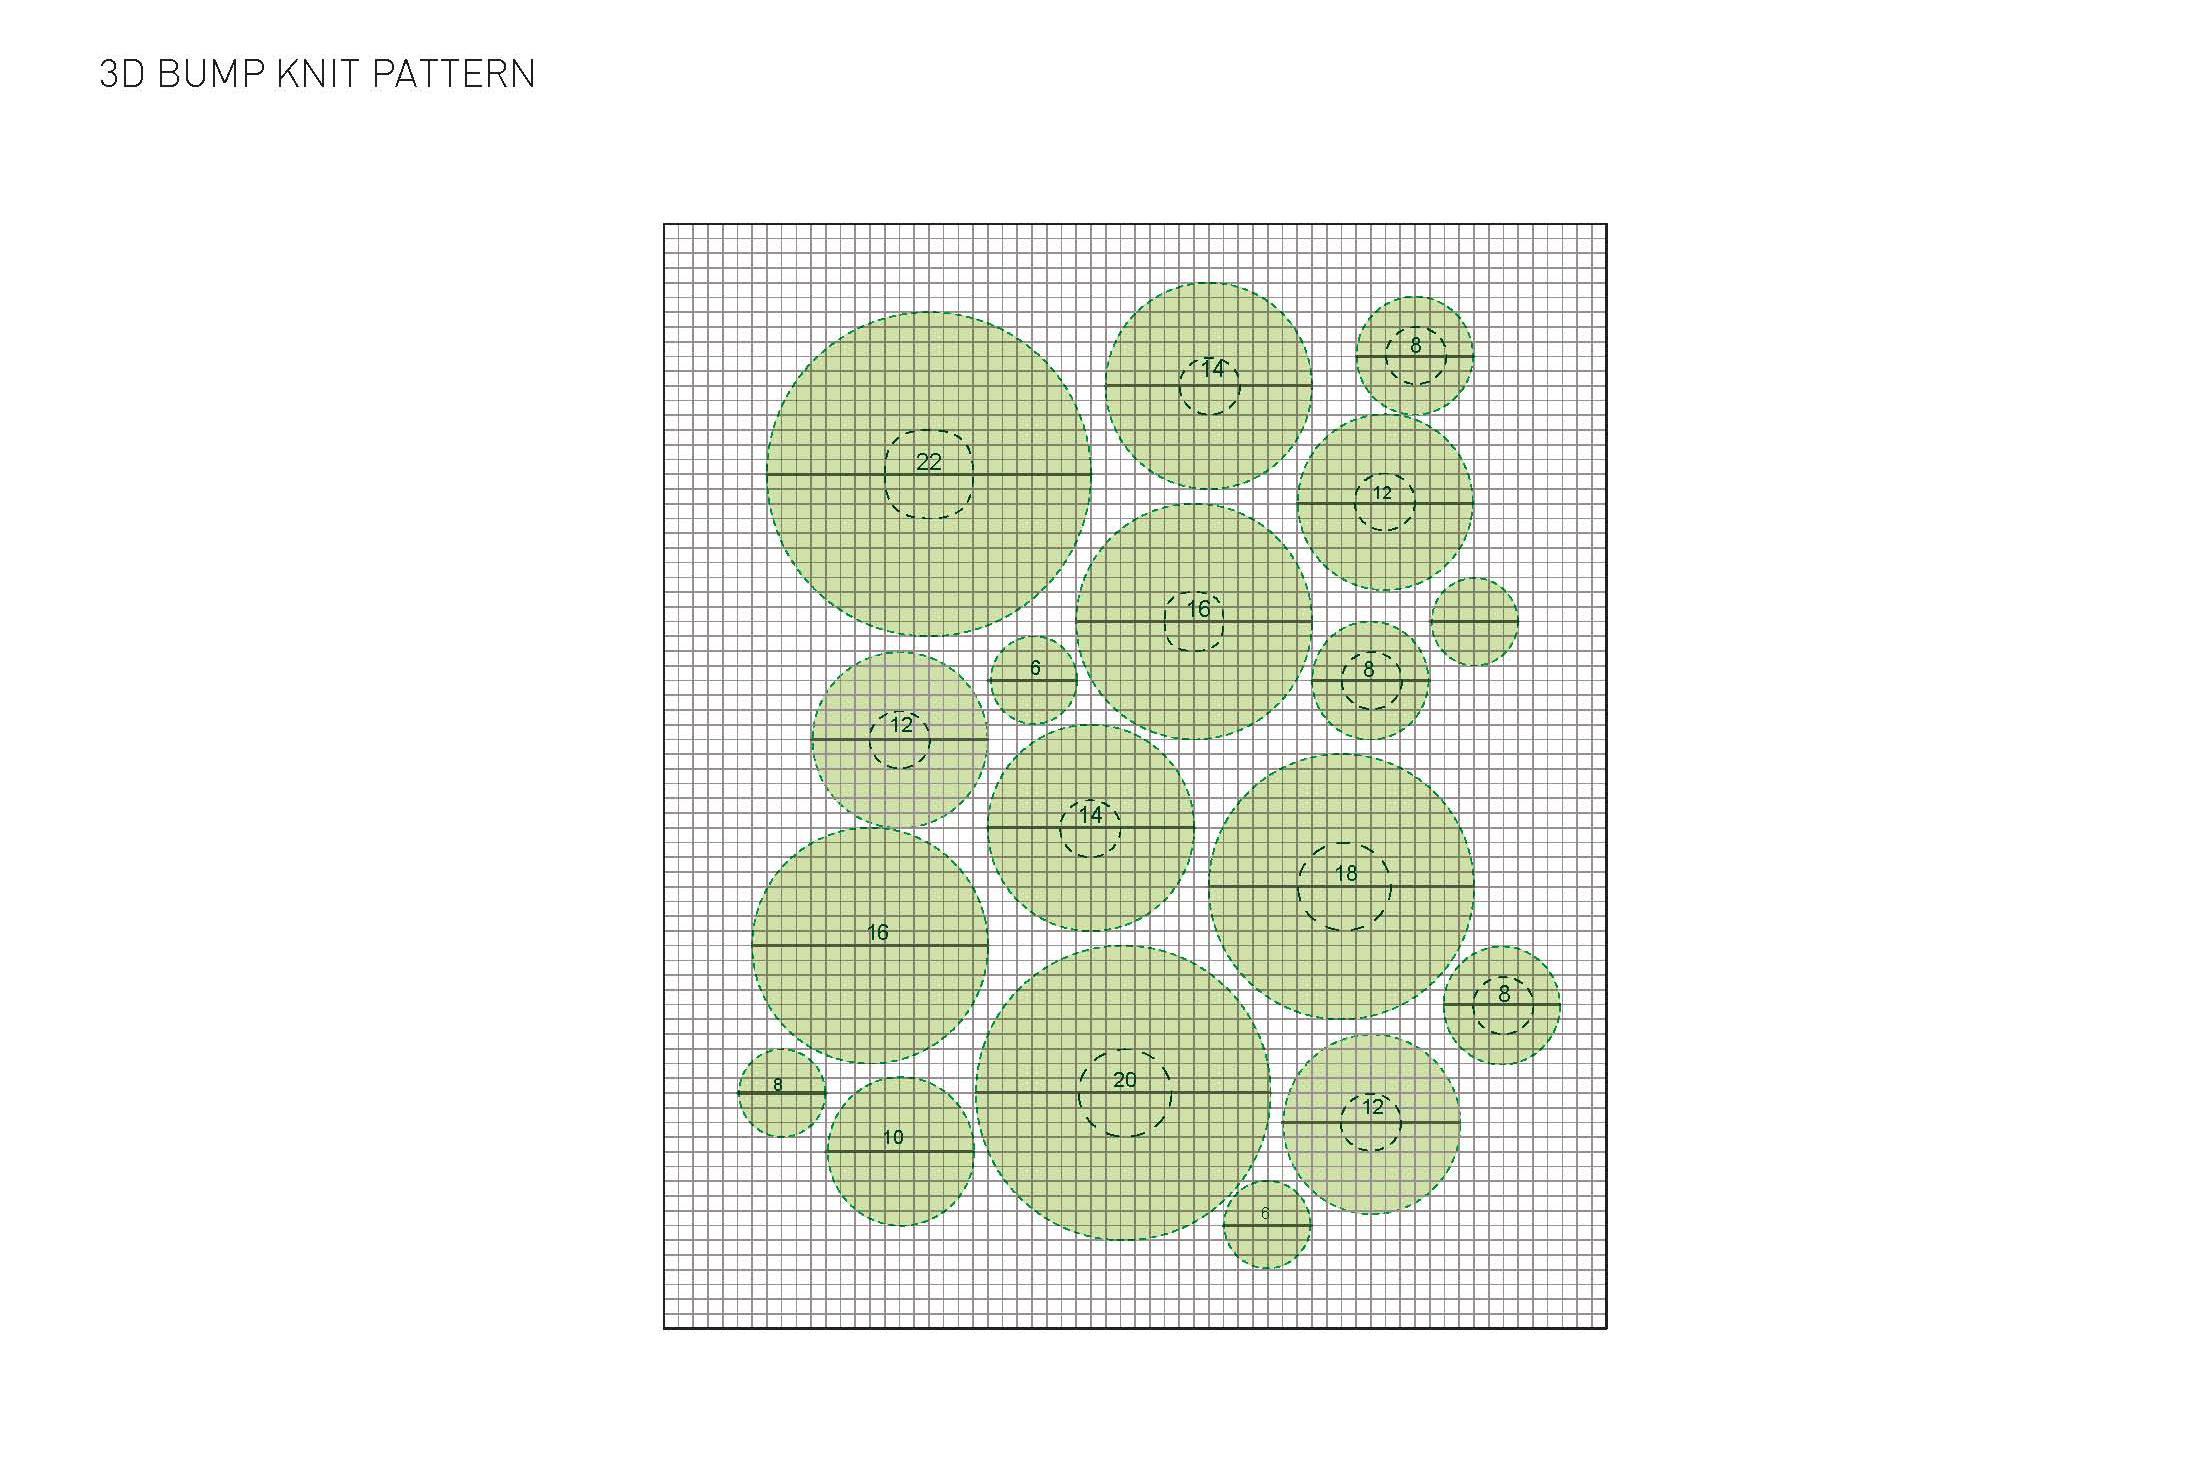
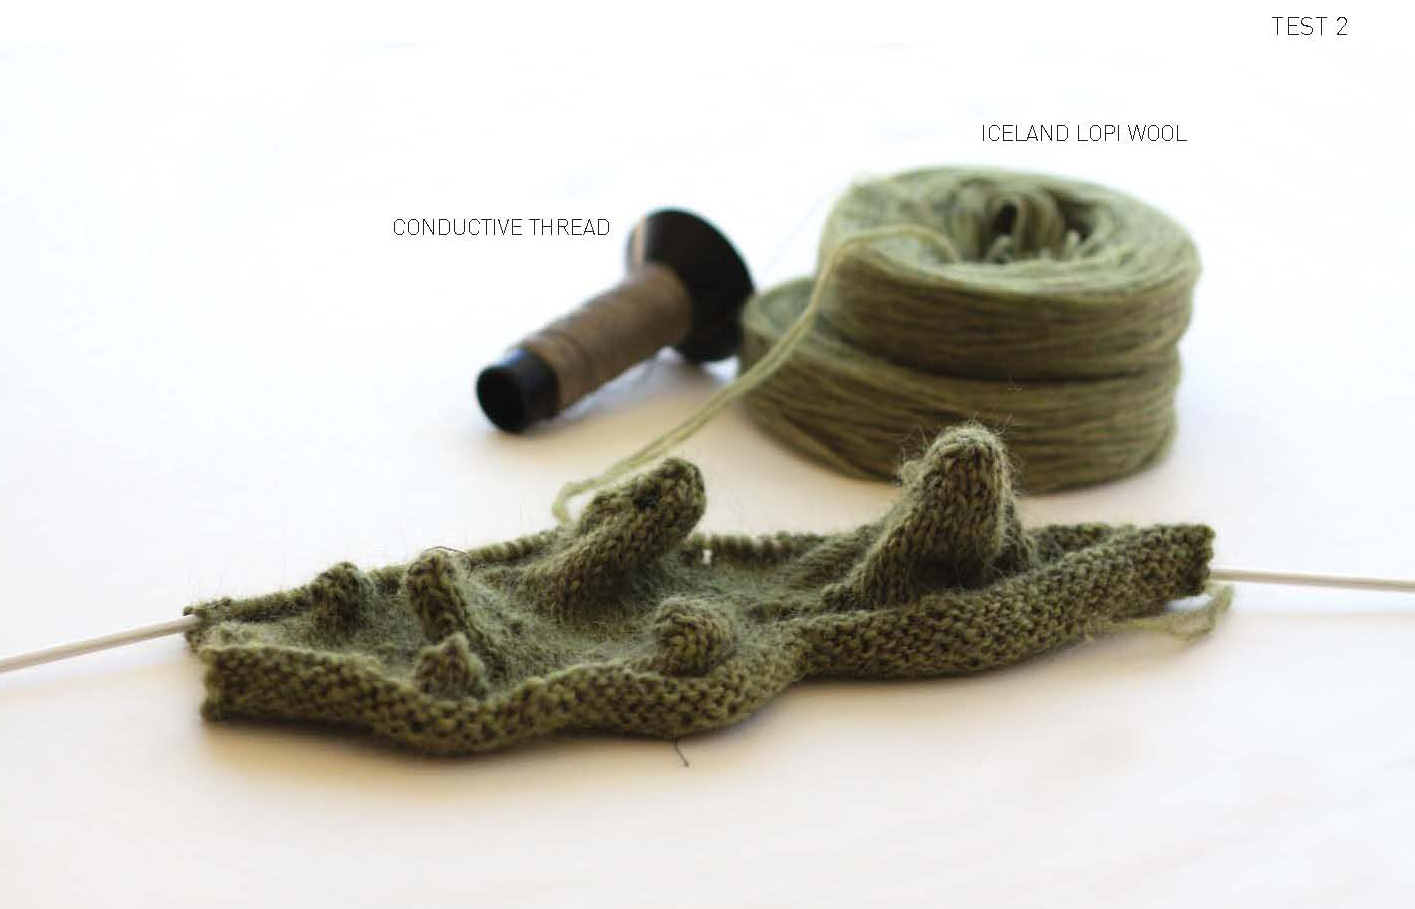
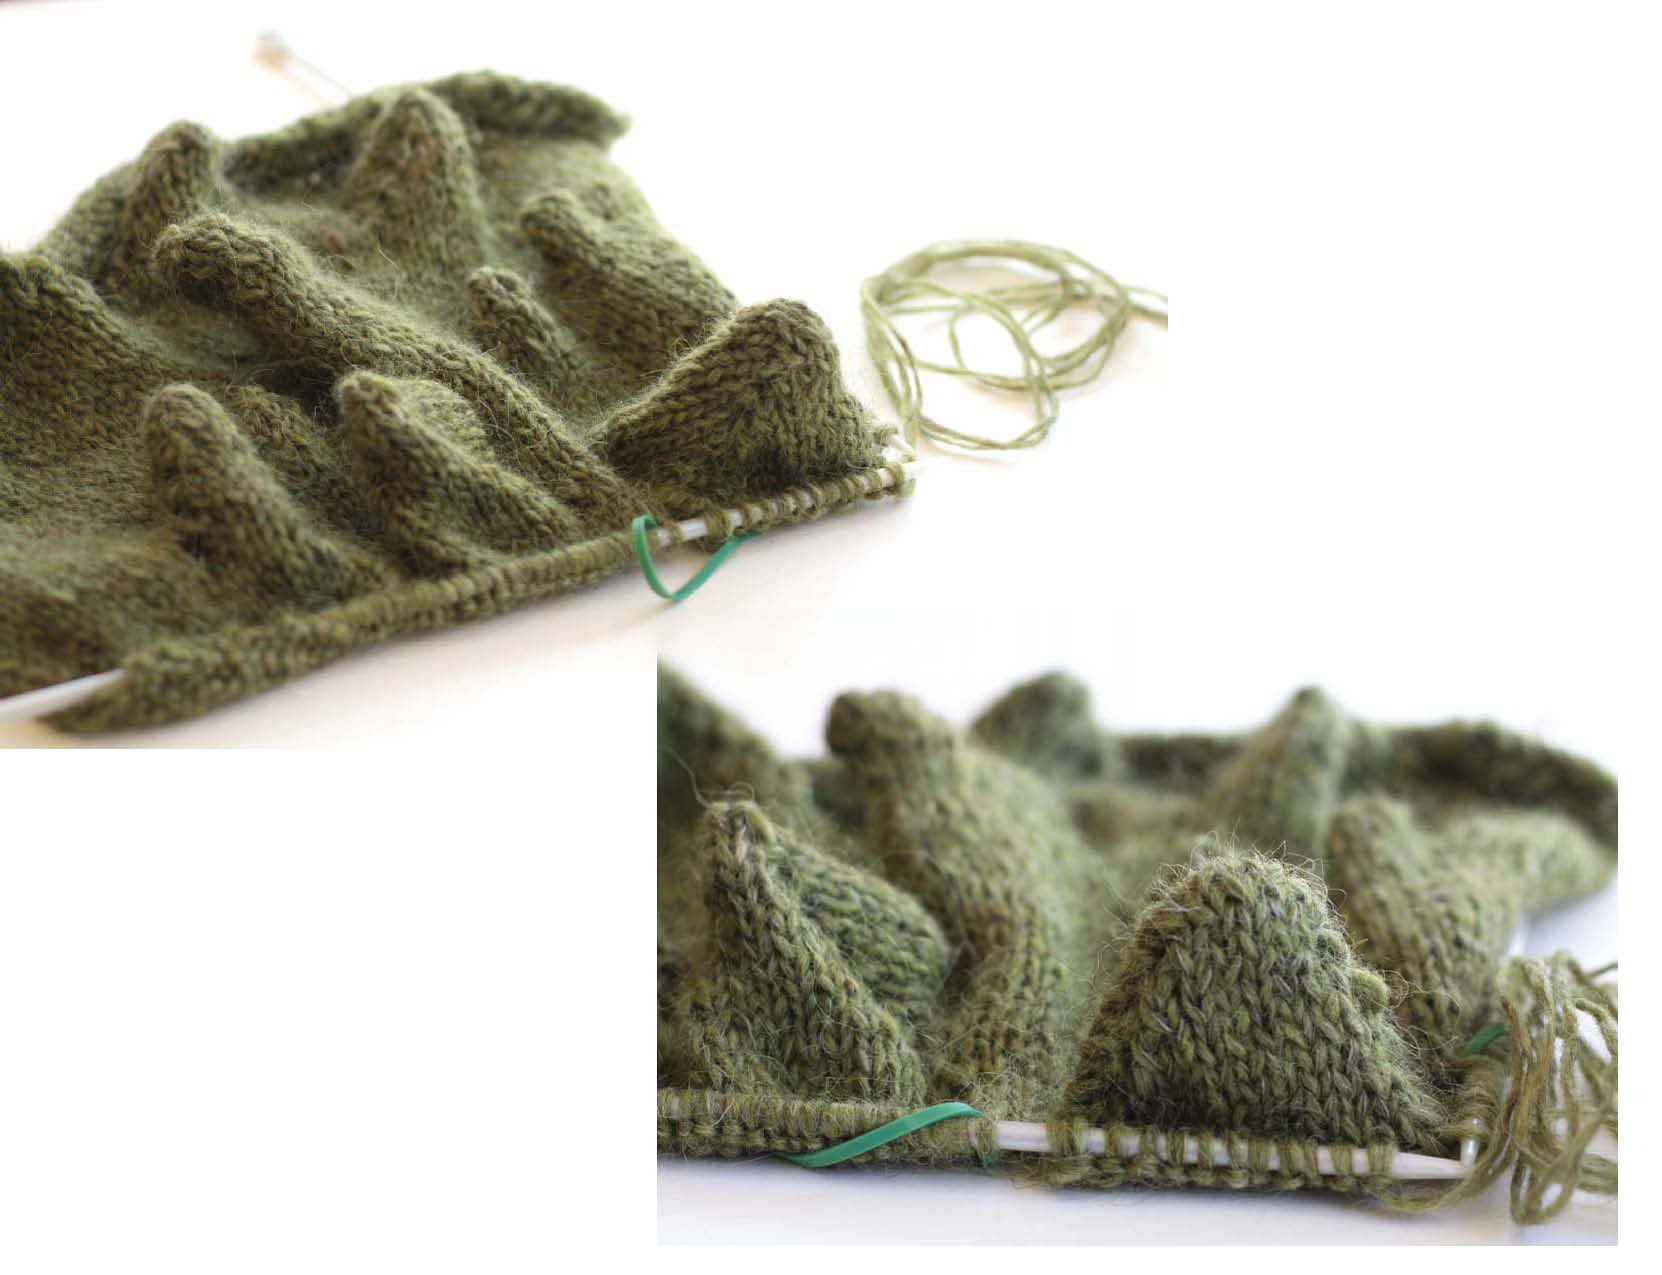
To follow this pattern, knit all grid boxes, and start the hold-knit-hold pattern at darker lines (circle diameter lines indicated with stitch numbers) to make bumps. Add conductive thread to the wool strand at the dotted tip areas of each bumps to create conductive surface. (hold-knit-hold: knit one row until last stitch, hold last stitch. Turn and purl until last stitch, hold last stitch. Repeat this pattern until two stitches are left. Then work your way backwards).
I was planning to use the mid-gauge knitting machine at the lab, but unfortunately the machine broke. I had to choose between:
-hand knitting
-use fine-gauge knitting machine
-mill bump surface with foam as formwork and make wet-felted landscape.
I decided to go with #1: hand knit.
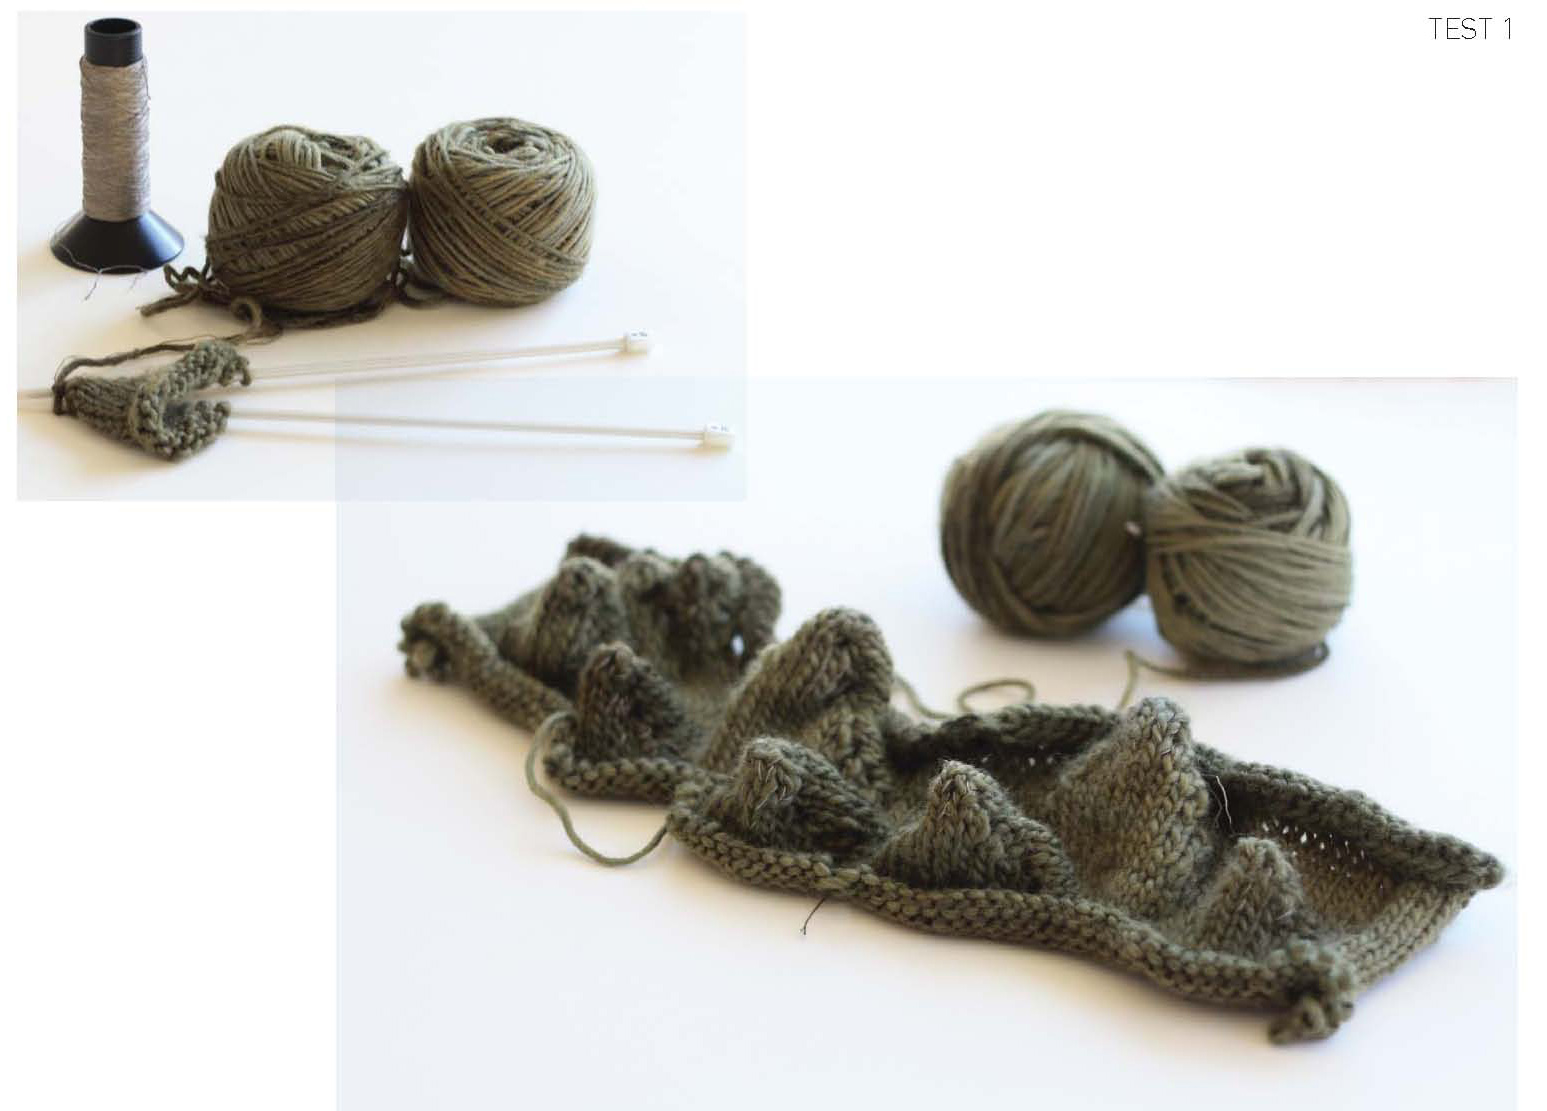
Test #1 was using wool yarn (from the lab, and it seemed like 100% wool), but I translated my pattern inaccurately (didn’t knit enough rows to allow enough expandable surface for knitted bumps. I kept knitting the hold-pattern after another). Also the yarn didn’t felt well. Change of yarns.
Test #2
I used 200 grams of Iceland Lopi Wool from Istex Mill , and this time read the pattern correctly. Knit knit knit.
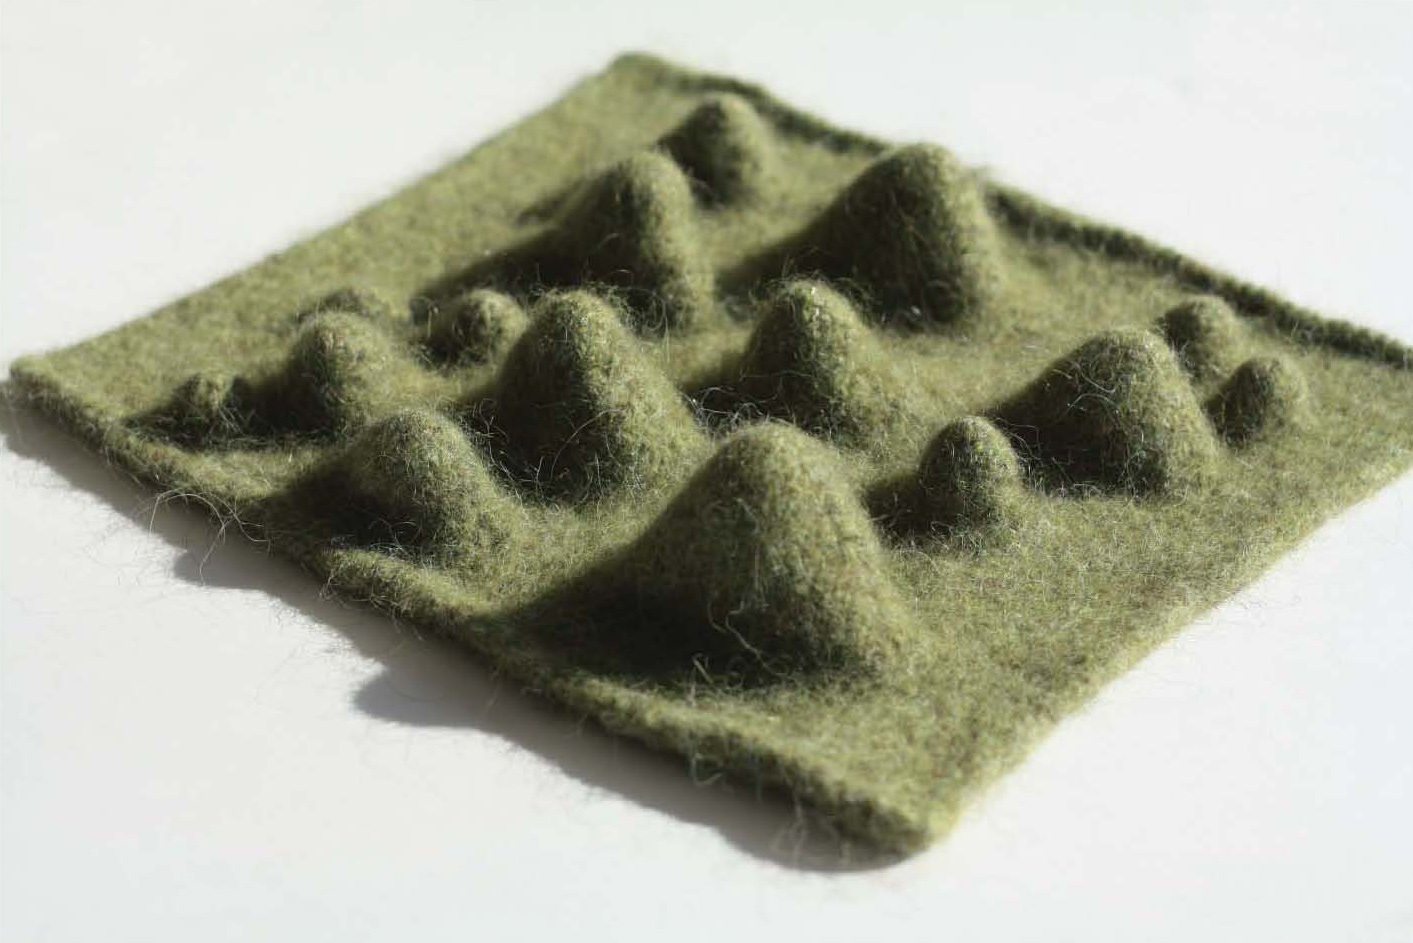
After many hours of relaxed but shoulder-intensive knitting, I felted the piece using washing machine (2 cycles). Below is a picture of the felted piece when it’s still fuzzy. While it’s damp (never put it in the dryer), make sure to shape the textile to your desired form. Let it air dry.
Here’s a little intro on capacitive sensor: http://www.arduino.cc/playground/Main/CapSense
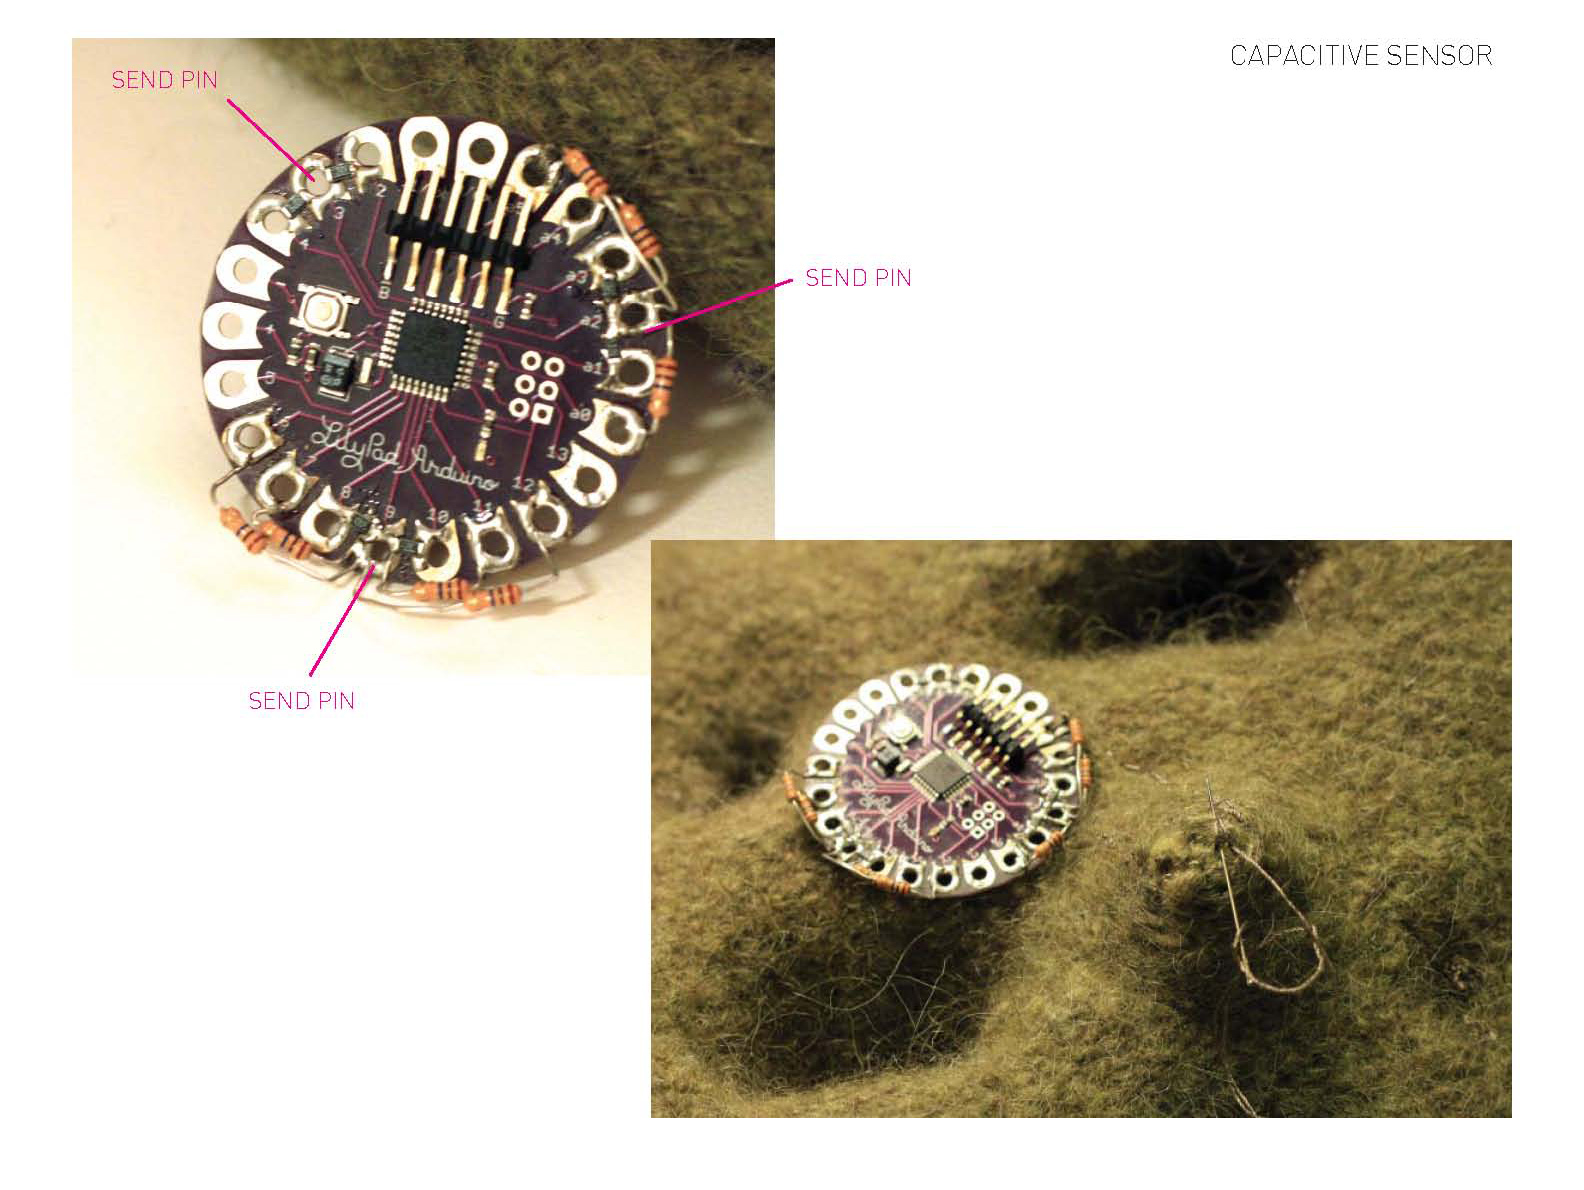
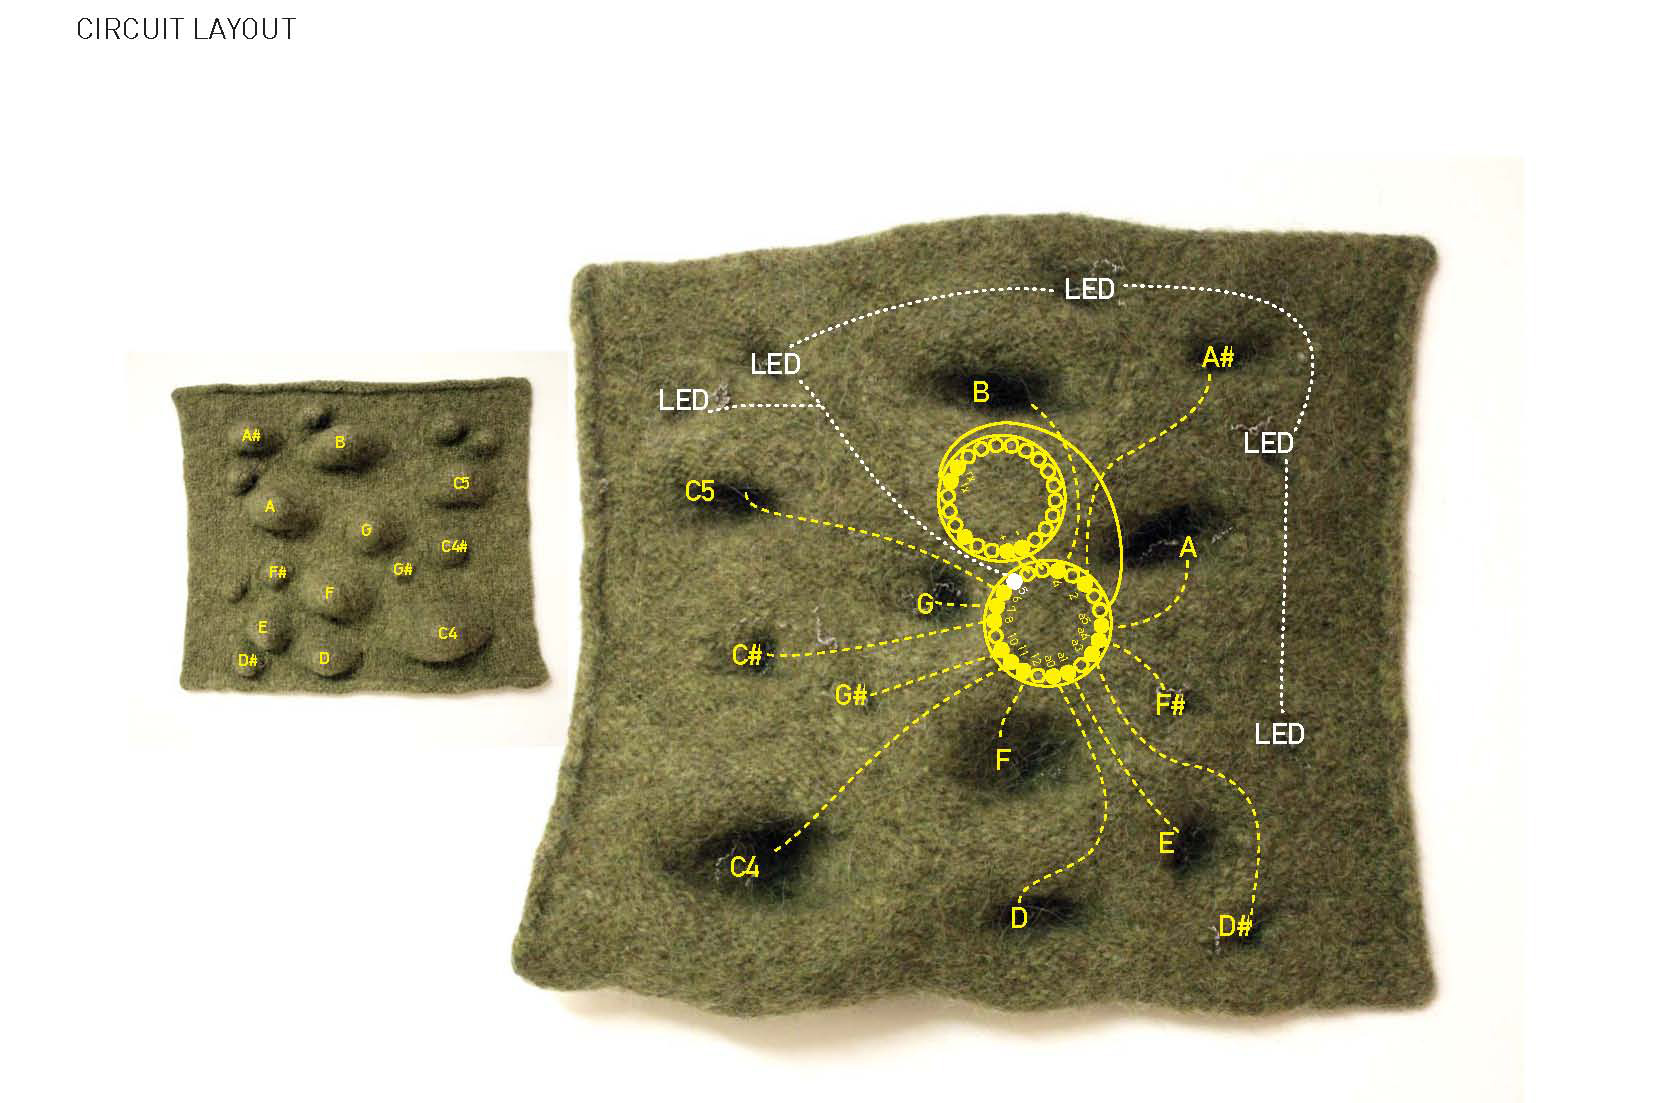
To maximize the number of sensor pins on the arduino, I designated three send pins, and used those pins to connect 10 mega ohms resistors to each of the sensor pins. I had to debug the the arduino pin connections by testing each pin with simple capsense code. Most of the times it was my amateur soldering technique that caused the problem. After everything is connected, I sewed the Lilypad on the textile and connected each sensor pins to the conductive tip of the bumps.
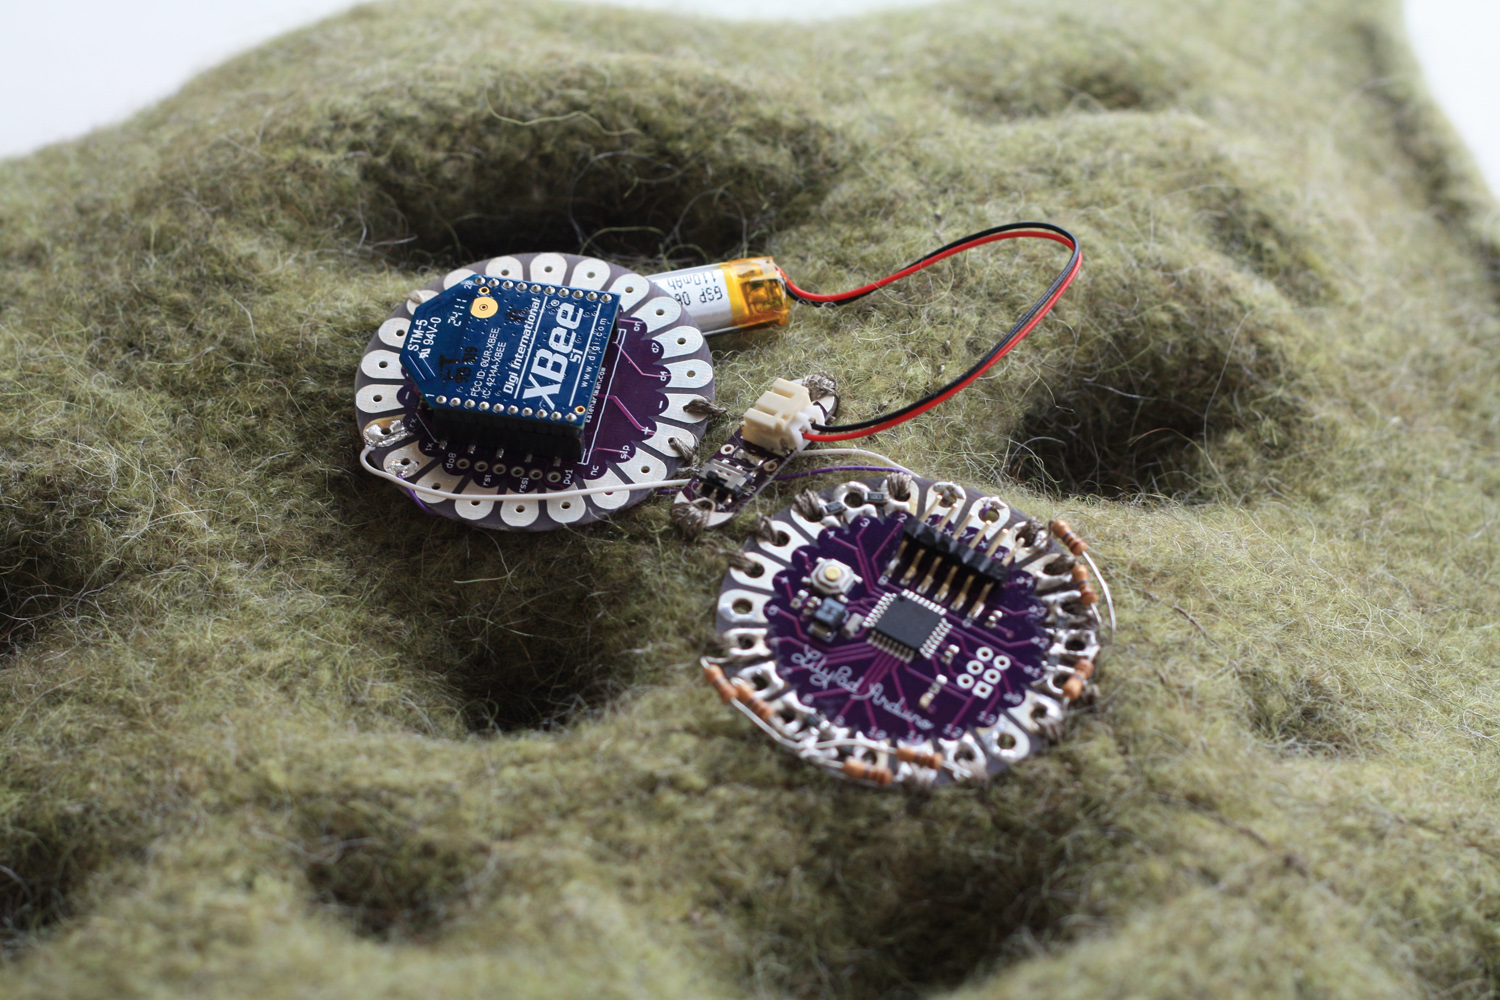
This time, I made sure to lay out the entire circuitry before starting any sewing. The bottom pin is the Lilypad and top one is the Xbee Shield. LEDs were difficult to see through the thick felt, so I took them out later. There are a total of 12 notes – a full octave with flat/sharp notes. Now it’s time to put everything together. Piano frequency can be found here, and the Processing Piano code sketch can be found in our class notes here.
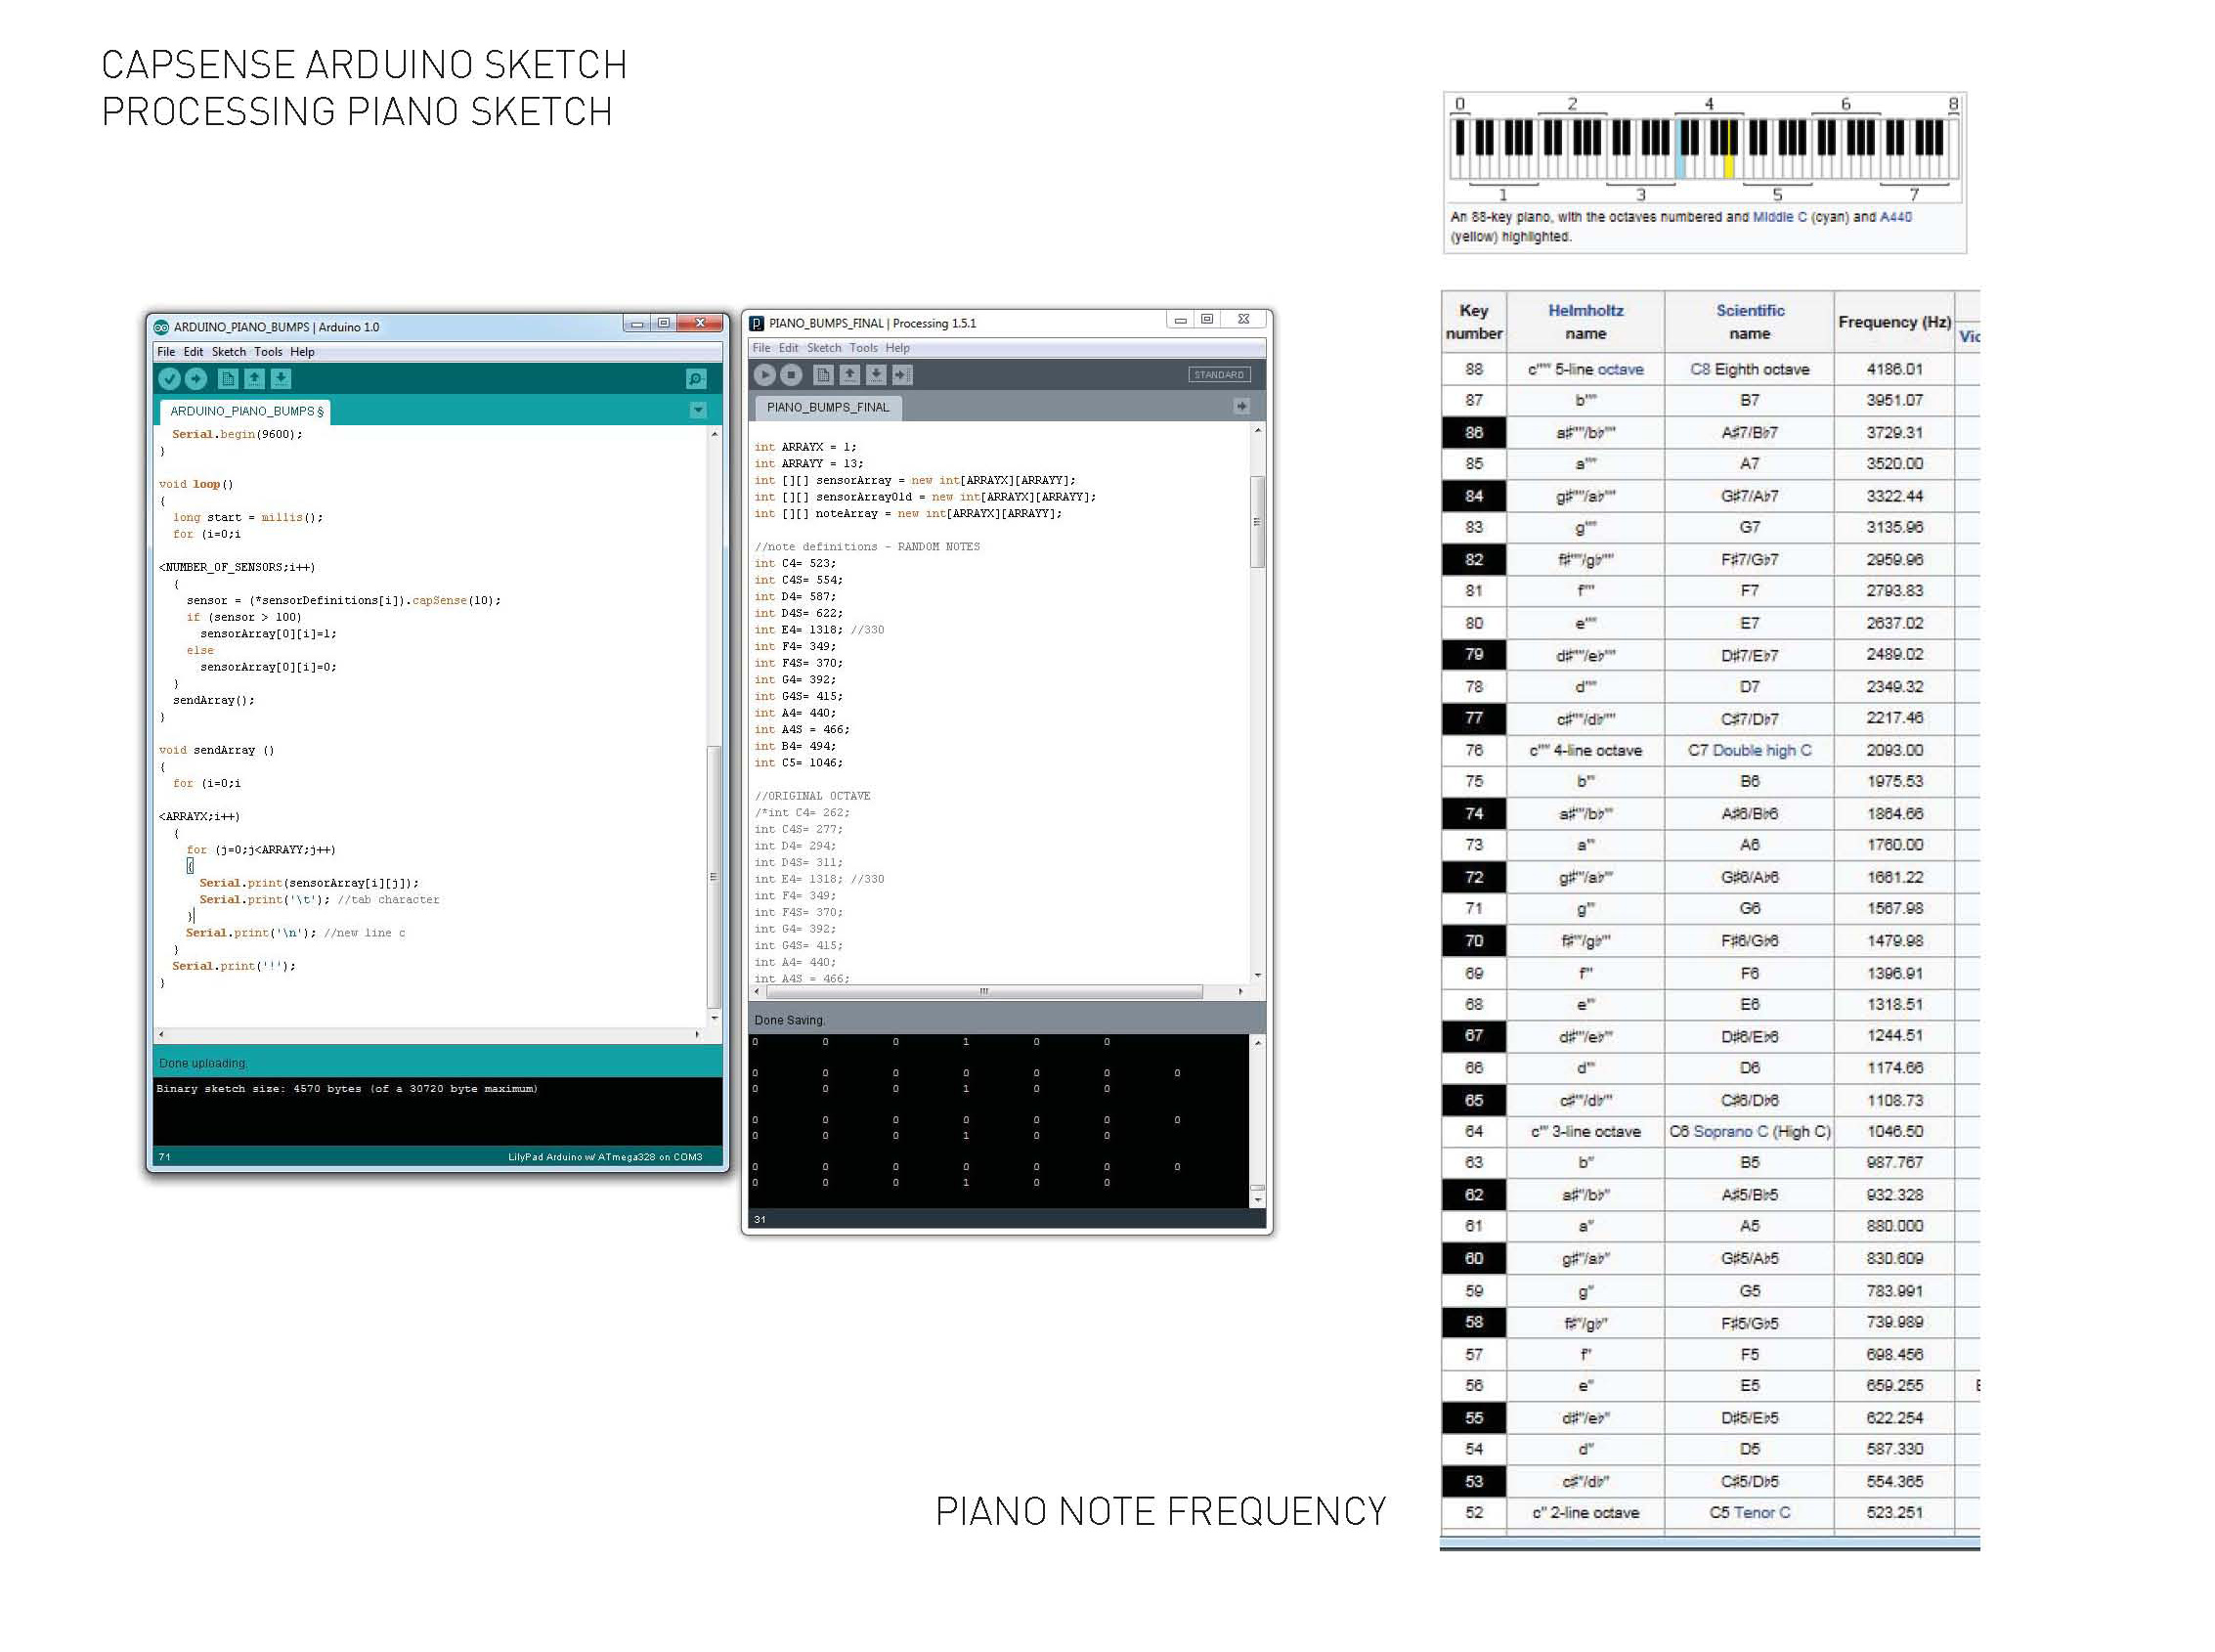
Next step is connecting with the Xbee modules. I want this interactive piece to be a stand-alone piece, and with the xBee it’s possible to send sensor data over radio/wireless network. I used simple Series 1 Xbees.
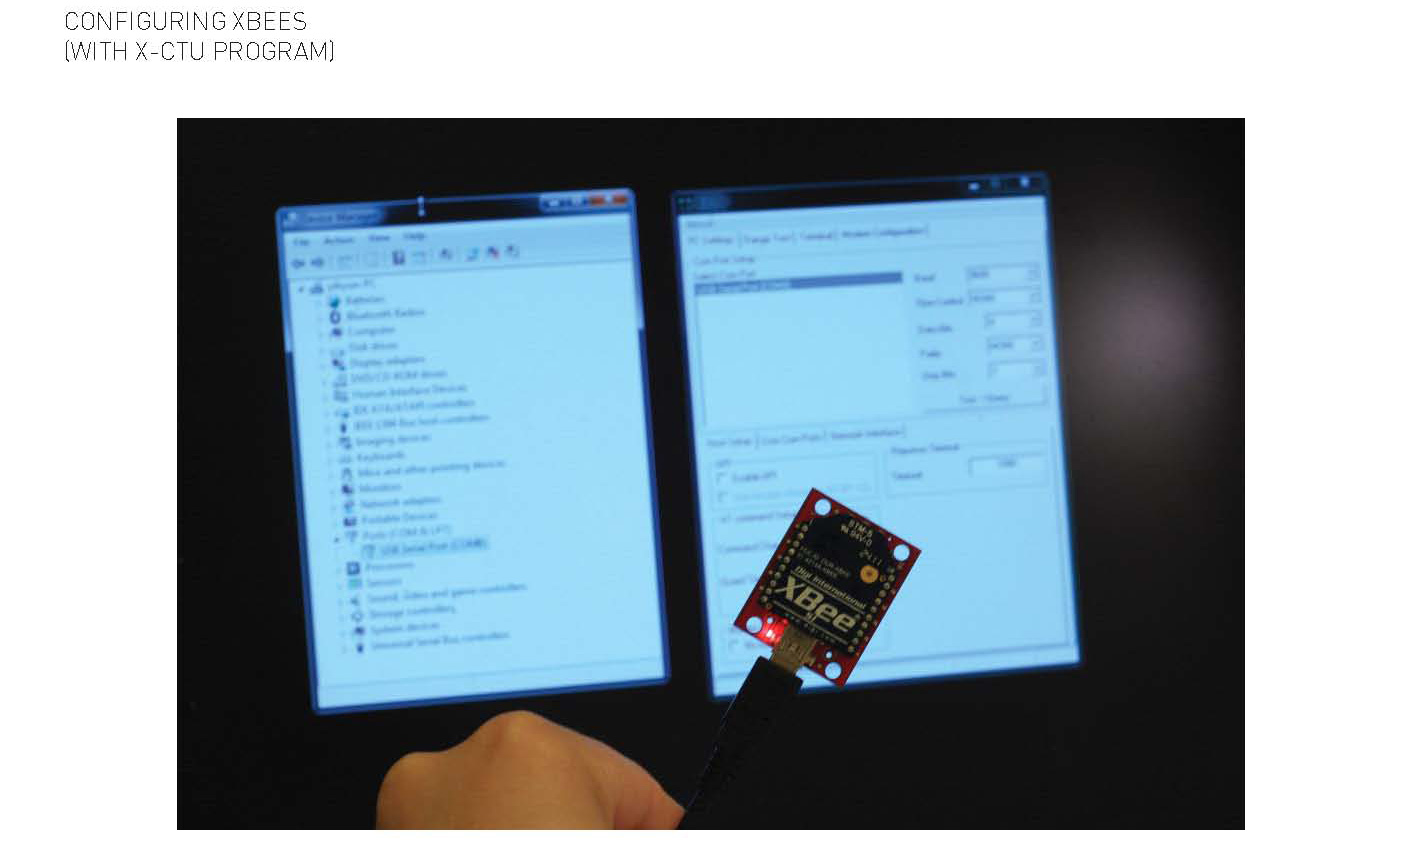
You need: 2 xBees, 1 xBee explorer (for your computer), lilypad xbee shield, power connector for xBee/lilypad, usb cable
I used X-CTU program to configure the xBees, and followed the steps described in this online post except few things: I didn’t change the baud rate to 19200, and also didn’t set the D2 pin as data pin in the sensor-xBee module. Plug in the xBee, and if two xBees are communicating, green light turns on. Yes! it’s communicating. I opened up the Arduino serial port, I’m reading 13 sensor readings. Great. However, when I went to the Processing sketch, nothing would happen. WHY?? Do I need to import the xBee library? I tried multiple things but all didn’t seem to work. More research is needed (frustration! why isn’t this working?)
So finally, here’s a demo video of the felted musical landscape (wired for now)
