Leaflet.
by obm
This week, I decided to expand on my bracelet line and add an embroidered piece to the mix. Although using an embroidery machine saved me from actually learning how to embroider, the process of having something to show for my work was a bit painful. I ran to a lot of issues which I describe below.
Lesson #1:
Always start with a non-complicated design. I’ll admit, the directions for using the embroidery adapter on the sewing machine seemed quite easy and so I decided to hit the ground running. In particular, I was hoping to embroider the following design:
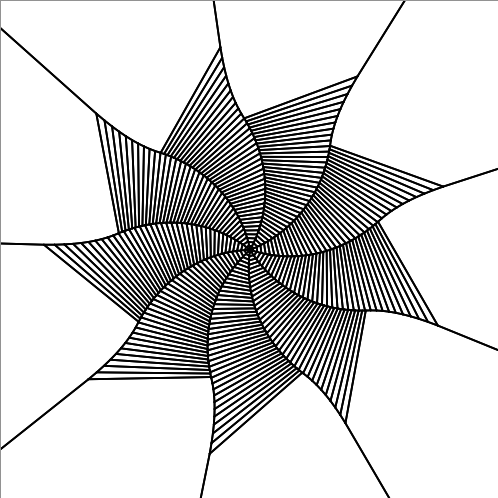 Although this would have been awesome, the embroidery program couldn’t handle the complexity of the design and crashed numerous times. This is when I realized, starting off with something similar would have been better.
Lesson #2:
I finally narrowed down the design to be just one of the leafs of the spiral windmill shown above. This reduced the number of stitches required and made it easier for the program to handle. However, the next complexity came with using the dissolvable stabilizer. I thought that just embroidering into the stabilizer and running it under water once the embroidery was done would do the trick. Unfortunately, a special stitch is required and my design turned to mush soon after being put under water.
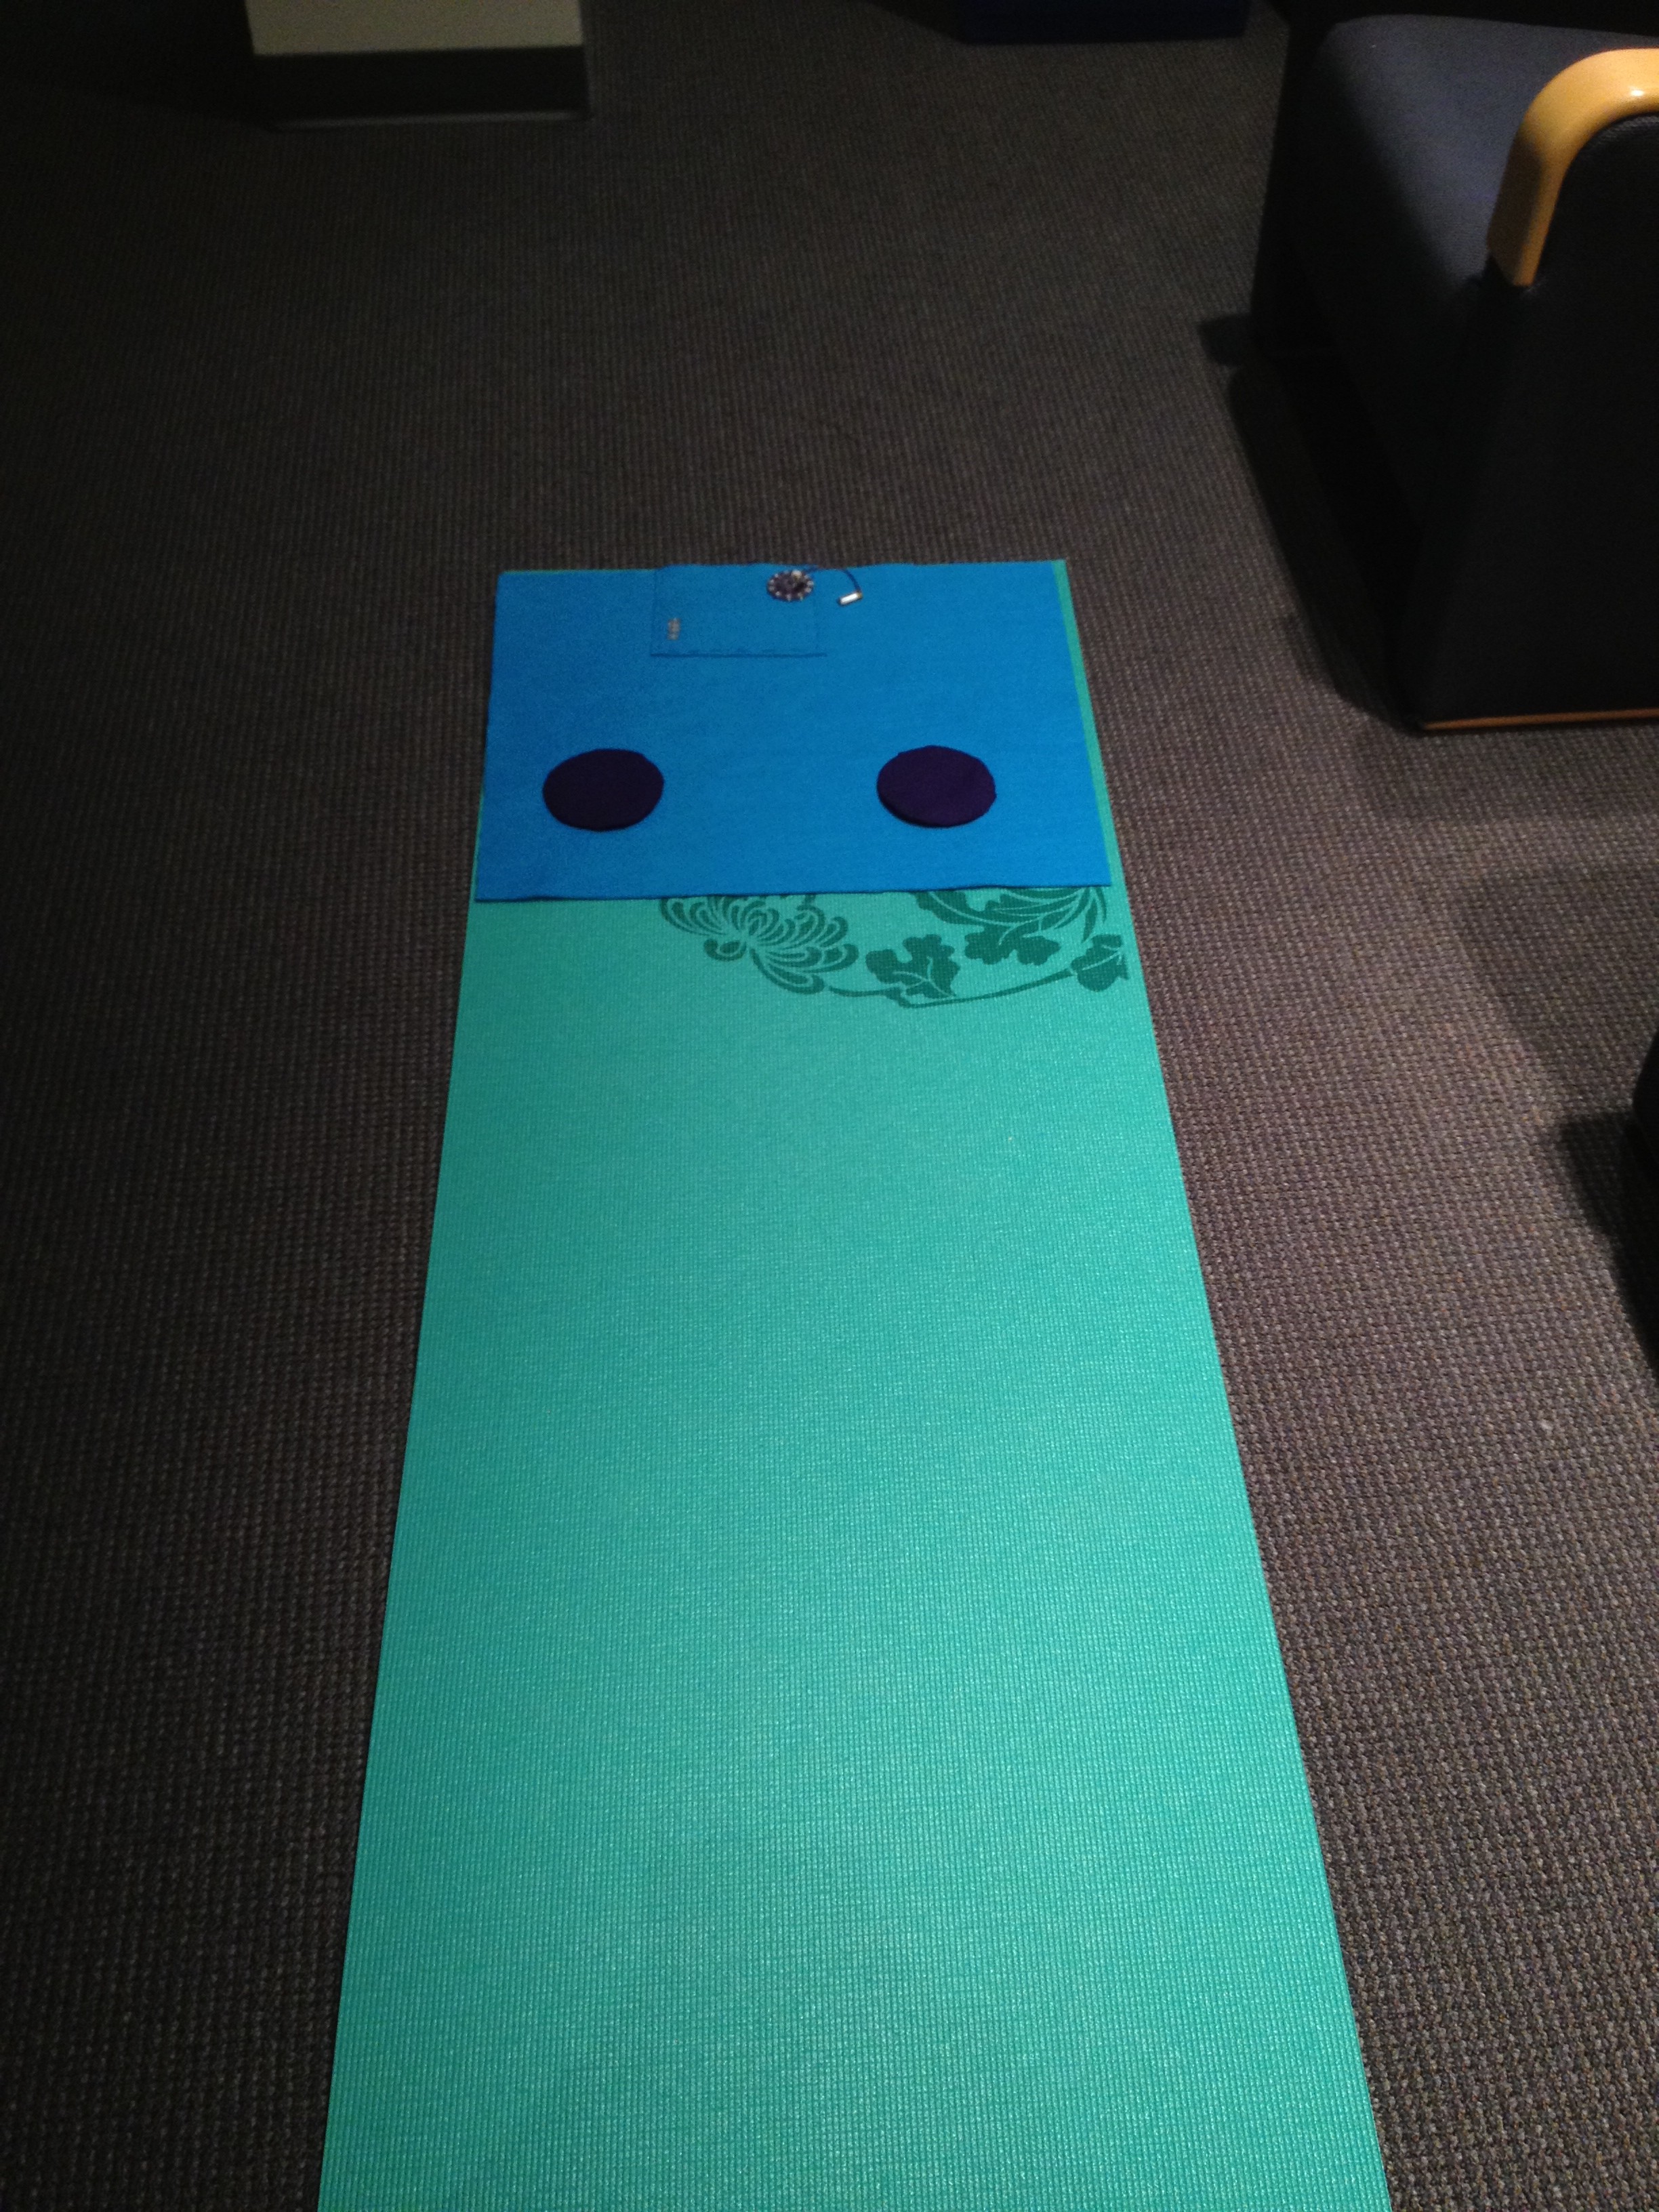
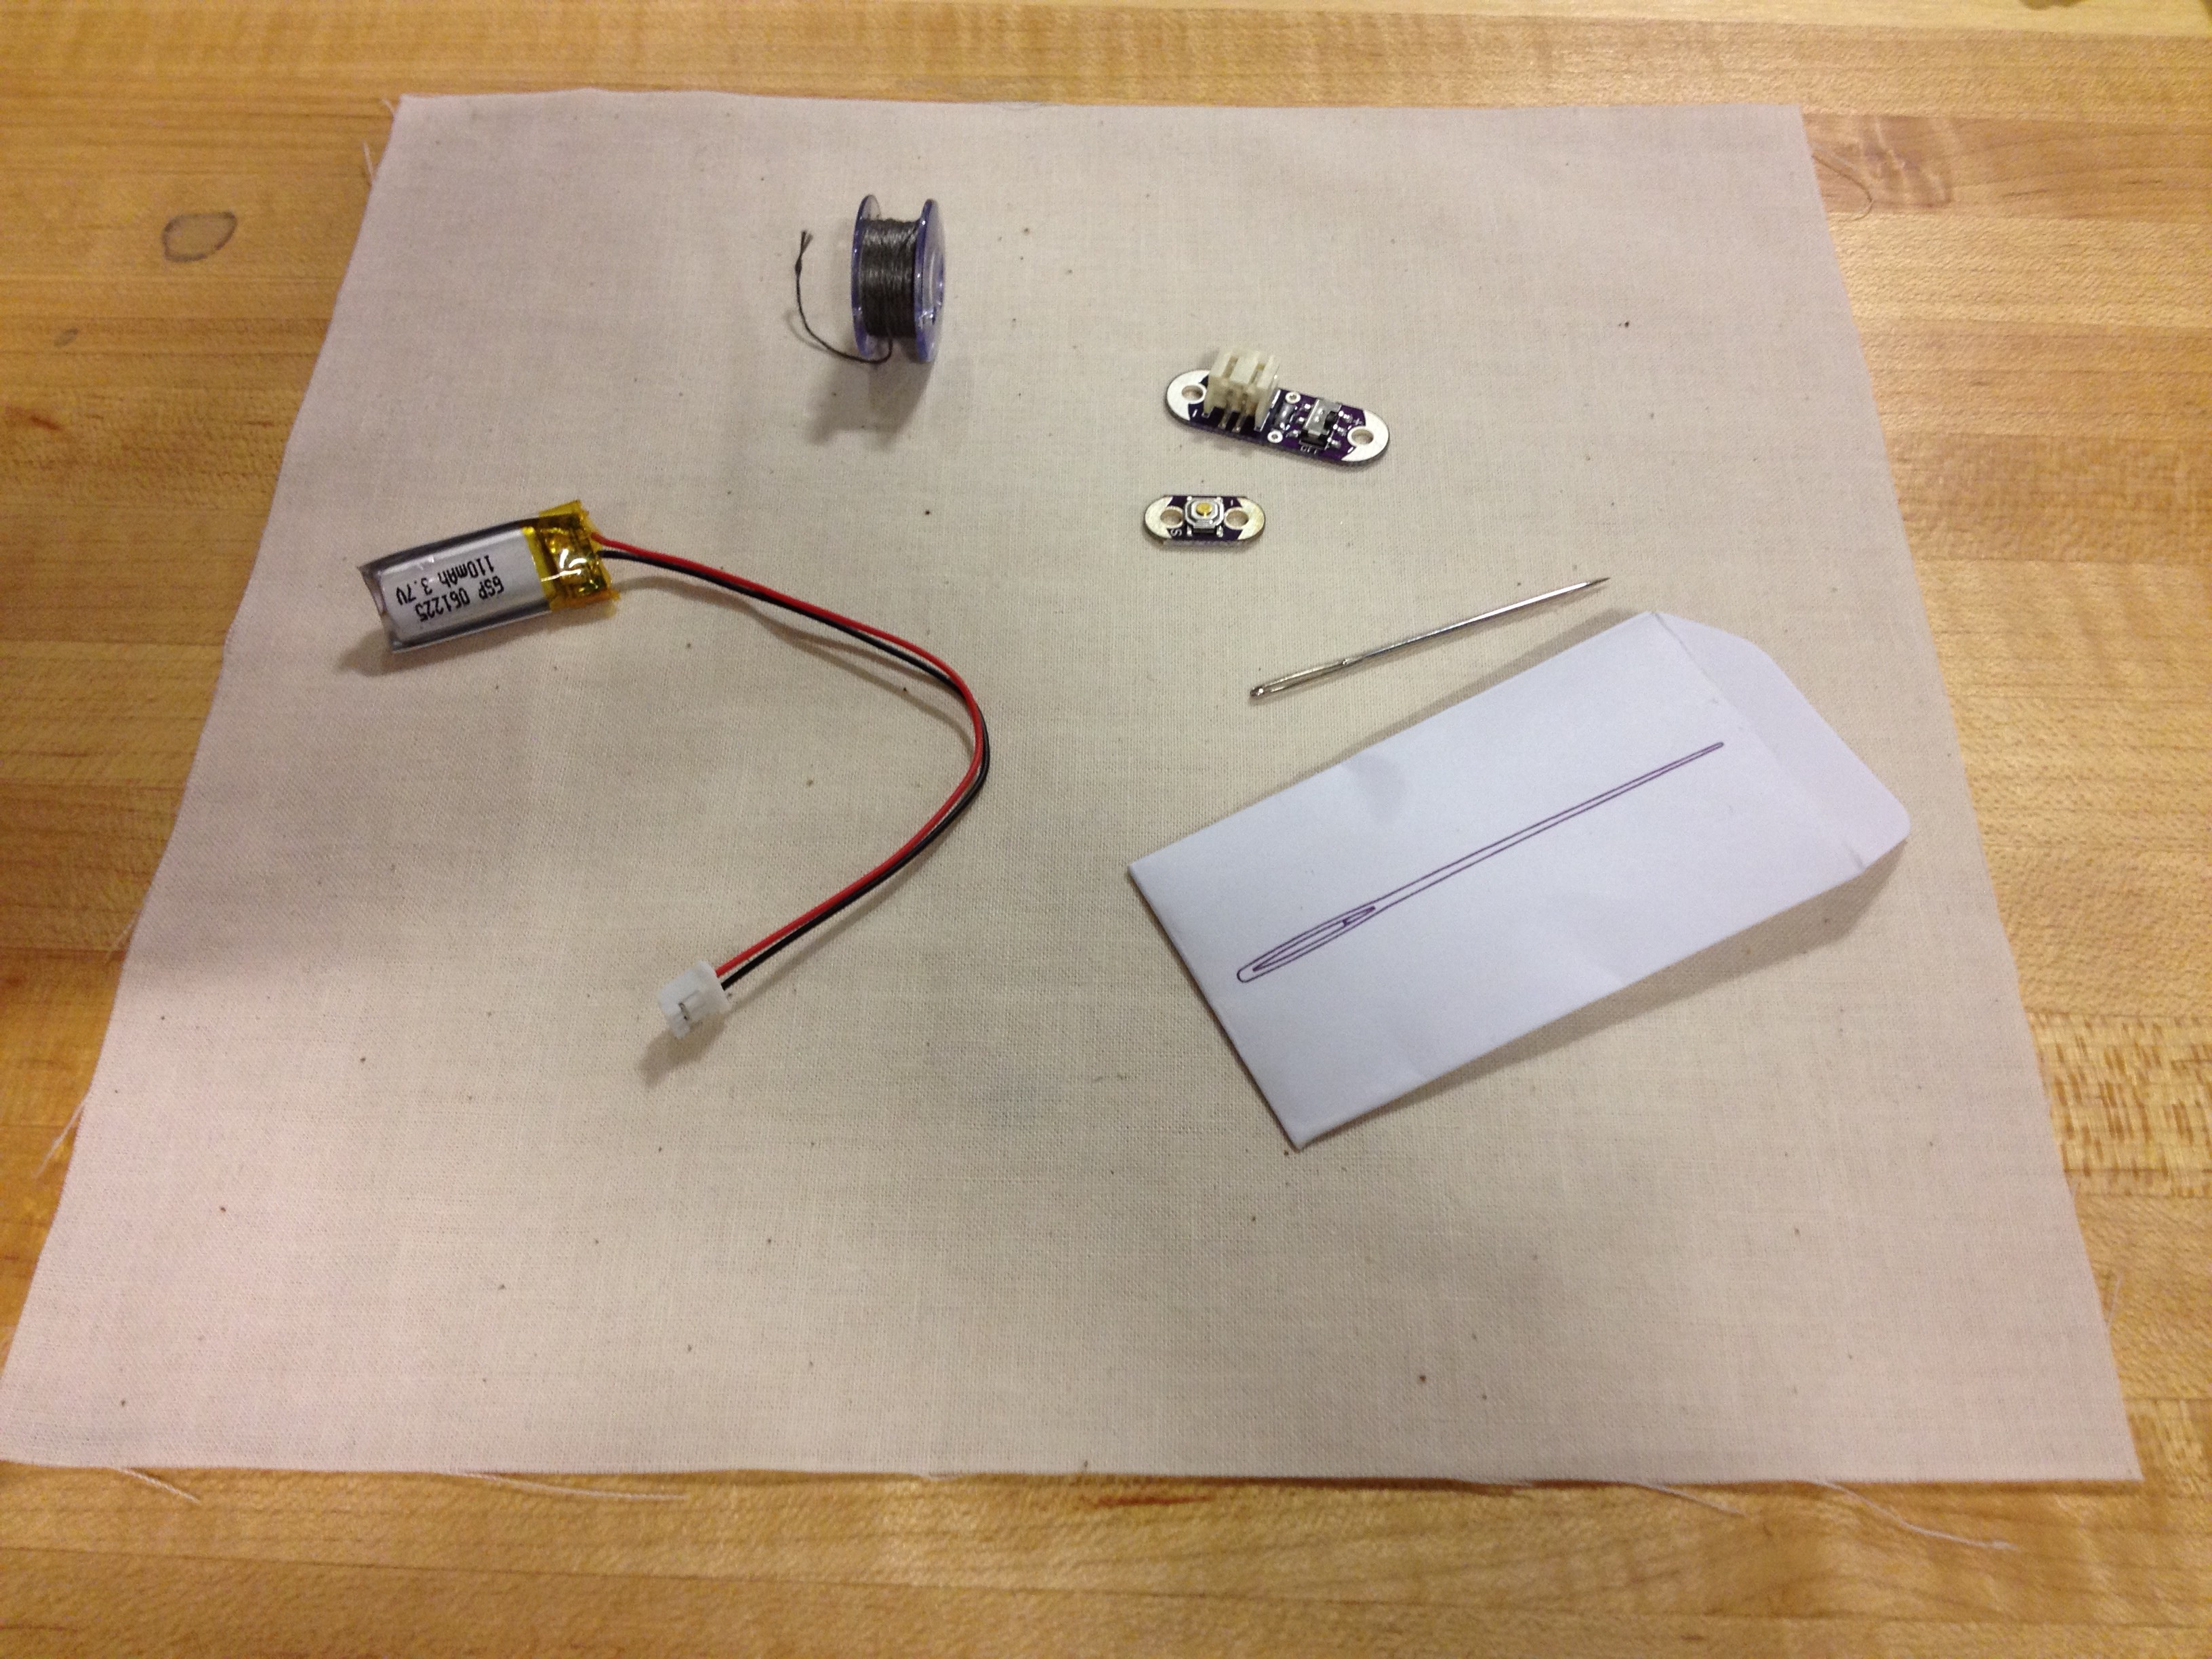
Finally, taking all of these learnings, I gave it one last shot and decided to make a simple leaf inspired bracelet below. I only used one leaf of the vornoi I generated and then attached strings to the end of the embroidered piece to make a bracelet. The work in progress, and final product is below:
Processing Code for Spiral (Modified based on http://nt.media.mit.edu/?p=2042)
void setup() { size(800,800,P3D); //size of your intended pattern noLoop(); // don’t need to use the draw loop /*unique name for your file. if left unchanged, will simply save file with current milisecond*/ String fileName= “voronoi”+millis()+”.pdf”; beginRaw(PDF, fileName); //enables you to save your design to a pdf setupVoronoi(); // create your voronoi generator // =========GENERATE SPIRAL=============== //
int centerLimit = 350; // variable to control the maximum diameter of the spiralfloat theta = .2; //like the diameter of your circle, but increases with every point in your spiral, producing the spiral effect.
//this will draw one spiral for(int k=0;k<centerLimit;k++){ theta +=.7;drawPoint(width/2,height/2,theta,theta);
}
drawVoronoi(); //renders your voronoiendRaw(); //ends the recording }
void drawPoint(float orgX, float orgY, float theta, float diameter) { //function that generates and adds circular points
float xPos = sin(theta)*diameter+orgX;float yPos = cos(theta)*diameter+orgY;
voronoi.addPoint(new Vec2D(xPos, yPos));}